Sunday, March 4, 2012

"New" Planer

I've been needing a planer for quite awhile and after much shopping and searching around, I finally purchased this one on Craigslist. It's a Craftsman 12 inch planer which I can find absolutely no information on anywhere on the internet. Strange. However I did find a manual and Sears still sells parts, so I'm happy with that. It's slightly used but in overall very good condition, and being my first planer, I'm very please with it. Well, I'll skip to some photos now!


 The planer is quite the little beast for a benchtop style. It's got a 2 1/2 hp motor and 12" by 5 1/2" capacity and a four post height adjustment system which makes for a much more stable cutterhead. The height adjustment gauge is quite accurate and easy to read. Overall a very good planer.


We've had these old pallet boards lying around for years. (Waiting around to be passed through a planer I guess) So after taking some intial test cuts with some poplar, I passed one of these through to see how the planer would do and what exactly was underneath the weathered surface of the board.

Can you guess which one is the before and which is the after? Haha! Yeah, after the first pass through the planer what I saw a beautiful oak board! Hey what a great way to start of my planing experience!

When I first went to use the planer the boards would not feed through and the feed rollers kept spinning out on the boards. My heart sank. What was wrong? Well I had noticed earlier that the previous owner had never taken off the original plastic bed protector and it had been peeling up everywhere and was causing wood to grab. Well I took that all off and polished the bed and Voila! it worked like a dream. So I'm glad that wasn't anything worse.

Here's my temporary dust collection system. After planing the first board, I realized my that my need for dust collection/control was increasing with every board foot. So...

          ...this has to be emptied out promptly so I won't be buried alive by sawdust.

  Now I can finally get around to cleaning up all those rough cut boards cluttering up my shop!
                                                                   Thanks for reading!


Thursday, January 19, 2012

Homemade Saw Vise

For Christmas, I received a DVD on saw sharpening, something I've wanted to learn to do for a long time. Well, I watched the dvd and made a list of what I'd need. Dull handsaw. Check. Triangle file of proper size and length. Check. Saw vise. What? A saw vise!? I had forgotten a very important element of saw sharpening; a saw vise. I didn't have the money to buy one, so it was out to the shop to dig through my pile of scraps and see what I could create. Now ideally a vintage metal saw vice is the best route, but I didn't have the cash and, hey, I'm a woodworker, it had to be made from wood. First I browsed around for pictures of other peoples homemade saw vices, just to get some ideas. Next I got to work on my Sketch-Up program and designed the vice which ended up looking different from all the other designs I'd seen. Oh well, it's designed to suit my needs. Well, again I will skip the jabber and hop to the fun stuff. Pictures!

First I started by making the bevel on the edge of the jaws. The jaws and handles are made from African Mahogany. I've used this on several projects in the past and you're probably wondering why I use this expensive wood on something like this? Well, I didn't have anything else and I didn't pay very much at all for this wood when I bought it. So that's why. :)


 Then I cut out the coves on the bandsaw. These allow the jaws to fit into the area near the handle where it's tight.


Here are the side, legs, jaw pieces, whatever there called. But here they are. I made them out of 3/4 inch baltic birch plywood. I narrowed the ends for I suppose no other reason then because it looked good.

I wanted this one to be adjustable for different heights of benches or people. So I routed grooves to allow for the bracket which I show later.


I used my 45 degree bit to countersink the grooves for the bolts which will hold the bracket.

Here's the cam/locking mechanism lever for tightening the vise. I could have used a knob to tighten, but I like the idea of a quick locking lever. I'll show you how this is made.


My first lever was made from one piece of wood and that proved to be a bad idea because of the pressure exerted on the lever was too much and it cracked. So...I decided to make a new laminated one and that did the trick. The alternating grain directions really strengthened it.

For the pivot of the lever I needed a custom designed piece. This is where my dad comes in. He's good with all the metal stuff so he was the brains behind this. First we drilled a hole in a piece of rod.

                                                      Then we tapped and threaded the hole.

For the lever I drill a whole my good old hand-powered brace and a 1/2 inch auger bit. The whole is slightly offset so it can have that tightening action.

                             Then I routed the clearance slot so that the lever can actually pivot.

Allright, back to the rest of the vise. Here I am drilling the holes in the jaws to attach them to the jaw leg things.

Here's the bracket for to make it adjustable. You can use this bracket to clamp the vise to the bench.

Here's the back of the bracket. The small notches cut into the sides allow for free movement of the wing nuts that allow me to tighten or loosen the bracket.

                                                           Here's the assembled vise.

It holds the saw very well, which, to be honest, is better than I expected. Even when the saw is only held by the end, it still holds quite firmly. The basic job of the vice is the hold the saw still and keep the saw from vibrating, which this vise does very well. So all in all I am pleased.

So I set to work sharpening my saw. I practiced with a rip saw which because the sharpening file is held at 90 degrees it makes the process easier. Here's a pic of the tools I used. From left: File held at 90 degrees in a piece of wood, a 6 inch extra slim triangle file, and a saw set I inherited from my grandfather. I finished sharpening the saw and it worked beautifully! I love sharp tools! Thanks for reading!

Saturday, January 7, 2012

"Roubo" Folding Bookstand

  I started this project awhile ago, but didn't get around to finishing it until just recently. It's a bookstand based on a famous design (only among woodworkers I suppose) by the great 18th century French cabinetmaker, Andre Roubo. The bookstand is made entirely of one piece of wood and traditionally is built using entirely hand tools, as they work best for this project. I found this project in a magazine and simply had to try my hand at making it. I had recently purchased a Japanese Ryoba saw and thought that would work best for this project. Perhaps a Japanese saw really shouldn't be used on a French project, but hey, Roubo...Ryoba, their pretty close. Ha! Just as a heads up, this project was made entirely with hand tools and the chisels I used were very dull at the time, so that accounts for many (not all) of my mistakes and the fact that this was initially an experimental project. Well, enough with my jabber, I show you some pics and explain as I go.

First I cut the board to length
Next I divided the board into five equal parts for the hinge by placing a yardstick across the board at a number divisible by 5. Then I marked every two inches and transferred that point down to the part where the hinge would be.
Then I layed out the decorative profile.
The cross section/guidelines for the hinge
Five equal sections for the hinge based on the points layed out earlier
Cut out the profile with coping saw
Coming along pretty good!
Some touch up on the edges
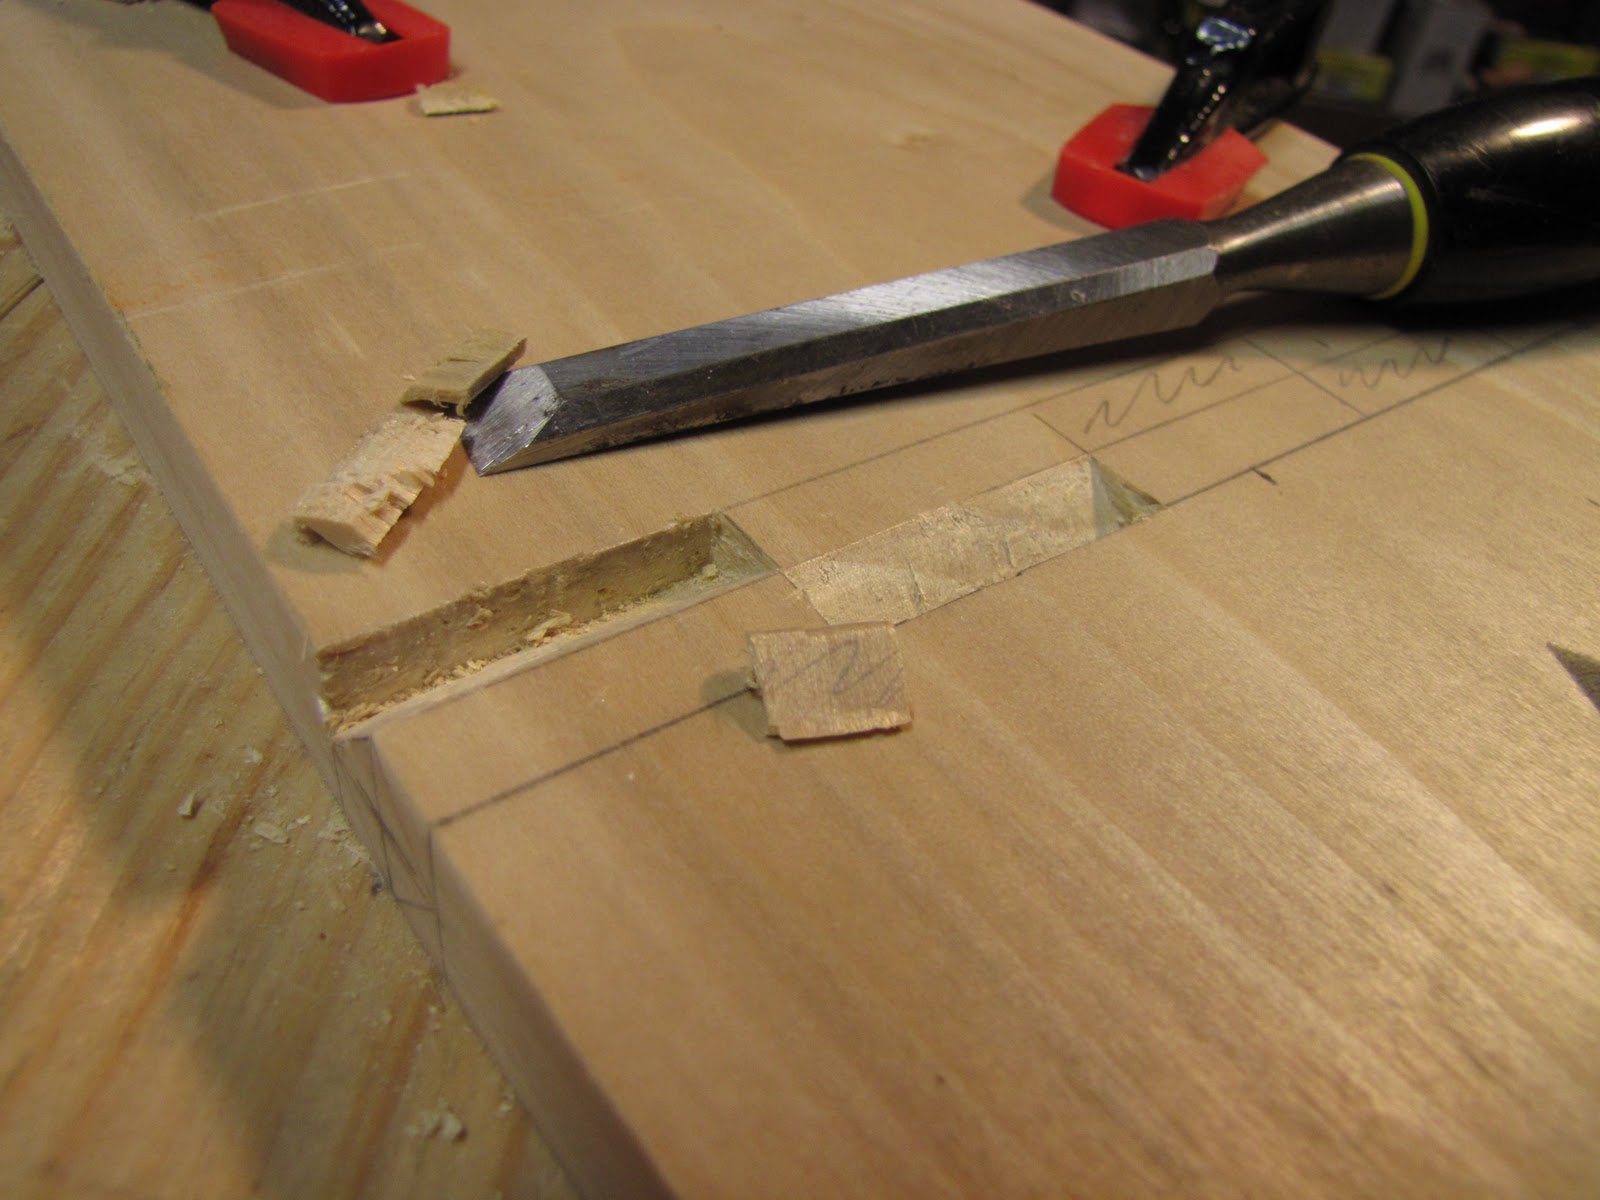
Chiseling out the waste parts for the hinge. I chiseled down at a 45 degree angle until I was exactly halfway through the wood.
Both sides of the hinge chiseled out!
Cutting line through the center of the board.
Sawing the board in half.
I saw down to the hinge point but no further.
And do the same for the bottom half.
Due to the fact that my chisels were poorly sharpened, the hinge didn't come out as clean as I had hoped and so began the many, many hours of sanding and fine tuning the hinge until finally the stand opened up to a complete 90 degrees.
The finished stand
The stand halfway open.
The finished stand completely open.
It works beautifully!
The finished stand turned out very well, considering the tools I used weren't in great condition, and my mom loved it! I plan on making another one now that I my tools are properly sharpened and considering all that I learned while making this one, I'm sure it will turn out even better. Thanks alot for reading and stay tuned for more projects soon!

Wednesday, December 28, 2011

"Scary Sharp" vs. Dull Chisel

 For Christmas I received a bunch of sandpaper so I could create my own "Scary Sharp" sharpening system. This system basically replaces expensive waterstones with much cheaper sandpaper. Unlike water and oil stones, this system doesn't require periodic flattening, because the sandpaper is adhered to a sheet of 1/4 plate glass or granite slab, which are pretty much wear-proof. 
  To use you simply stick the various grits of wet/dry sandpaper to the glass, either by using adhesive backed sandpaper or adhesive spray. The grits usually range from between 80 to 2000.  To start you wet the paper lightly and using a angle guide (or without if your really brave) move the chisel in a firm consistent back and forth motion trying to use all of the paper evenly. After awhile, you'll begin to feel a small wire edge on the back of the chisel. When you feel this edge along the entire back of the chisel, it's time to start honing the back of the chisel. Do this until the wire edge is gone.  I usually do this twice on the coarser grits. Repeat the process of "honing the bevel edge until you feel a wire edge on the back then hone the back until it's gone" for all the rest of the grits. I will sometimes do it twice on a certain grit if I think it needs it. Let's skip to some pictures to help explain.
 

Glass plates with different grits marked by labels.

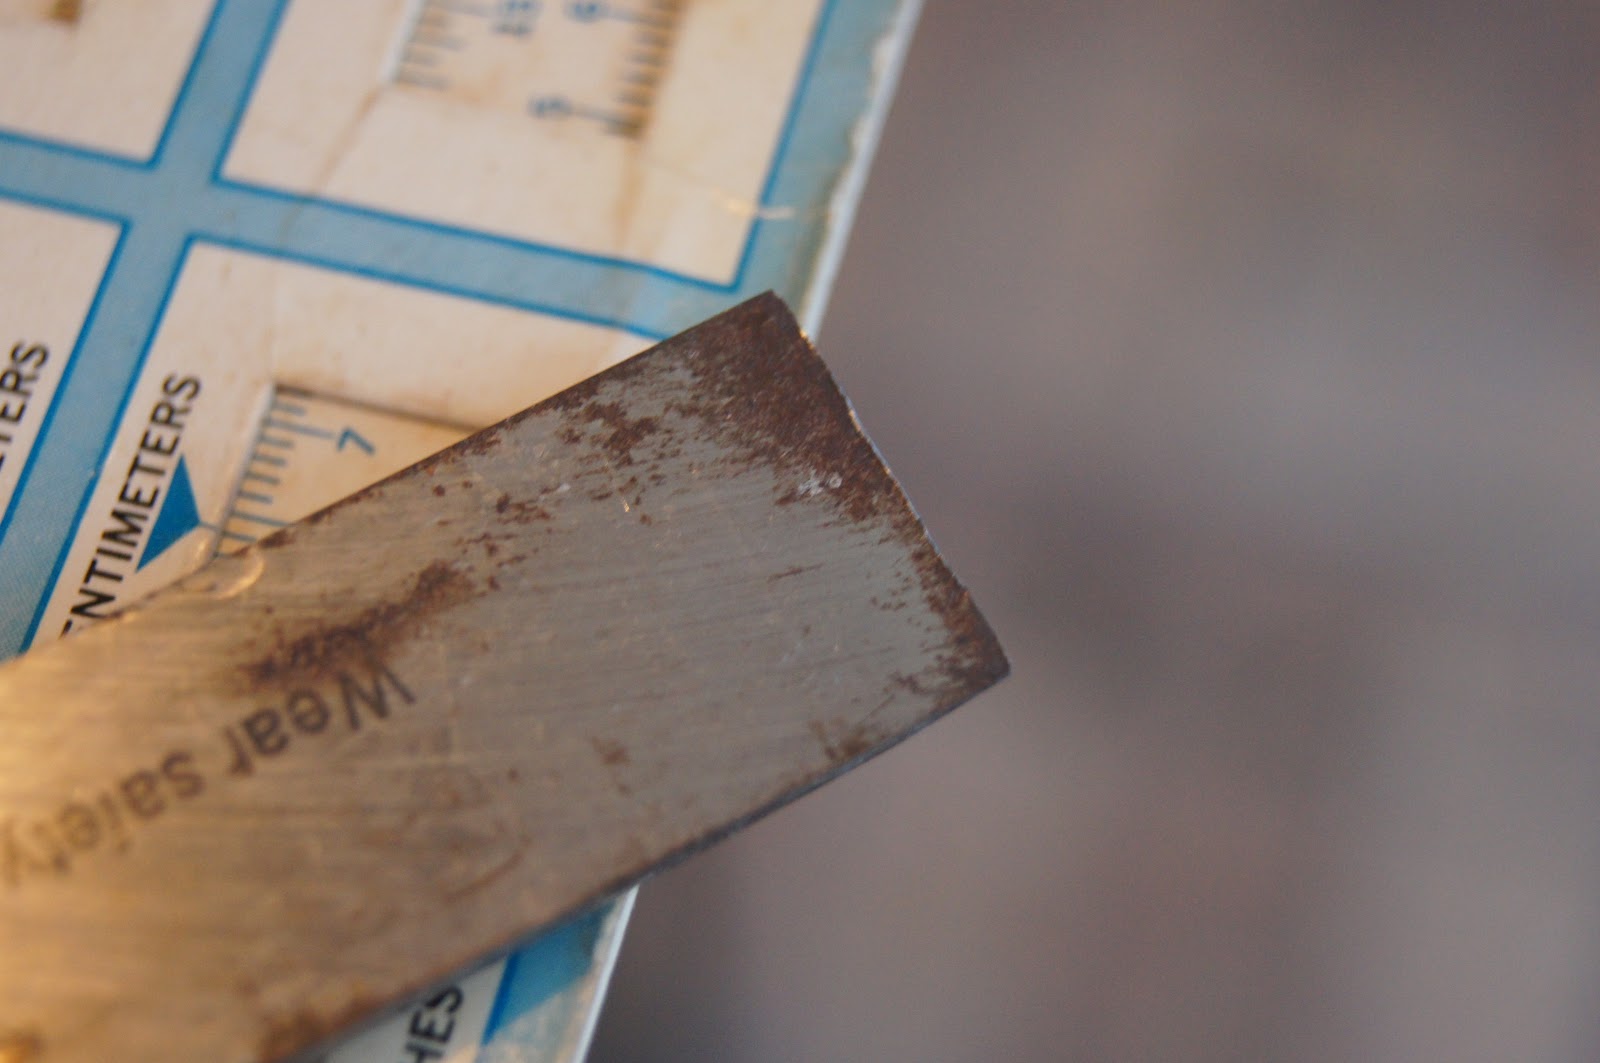
Rusty back of dull chisel. Cutting edge is chipped and rusty.

Bevel edge looks pretty sad.
Edge not square and chipped.
There's a little gap in the photos here, but all I did was square the edge on a grinder and then hone the bevel edge until I felt a wire edge on the back, which is what this picture demonstrates.
After I went through all the different grits, I had a nice mirror polish on the back of the chisel. I only honed the first inch or so which is really all that needs to be.
Voila! It shaved a nice thin shaving off my Sharpie! I'm pleased with that! Thanks for reading!