To use you simply stick the various grits of wet/dry sandpaper to the glass, either by using adhesive backed sandpaper or adhesive spray. The grits usually range from between 80 to 2000. To start you wet the paper lightly and using a angle guide (or without if your really brave) move the chisel in a firm consistent back and forth motion trying to use all of the paper evenly. After awhile, you'll begin to feel a small wire edge on the back of the chisel. When you feel this edge along the entire back of the chisel, it's time to start honing the back of the chisel. Do this until the wire edge is gone. I usually do this twice on the coarser grits. Repeat the process of "honing the bevel edge until you feel a wire edge on the back then hone the back until it's gone" for all the rest of the grits. I will sometimes do it twice on a certain grit if I think it needs it. Let's skip to some pictures to help explain.
 |
| Glass plates with different grits marked by labels. |
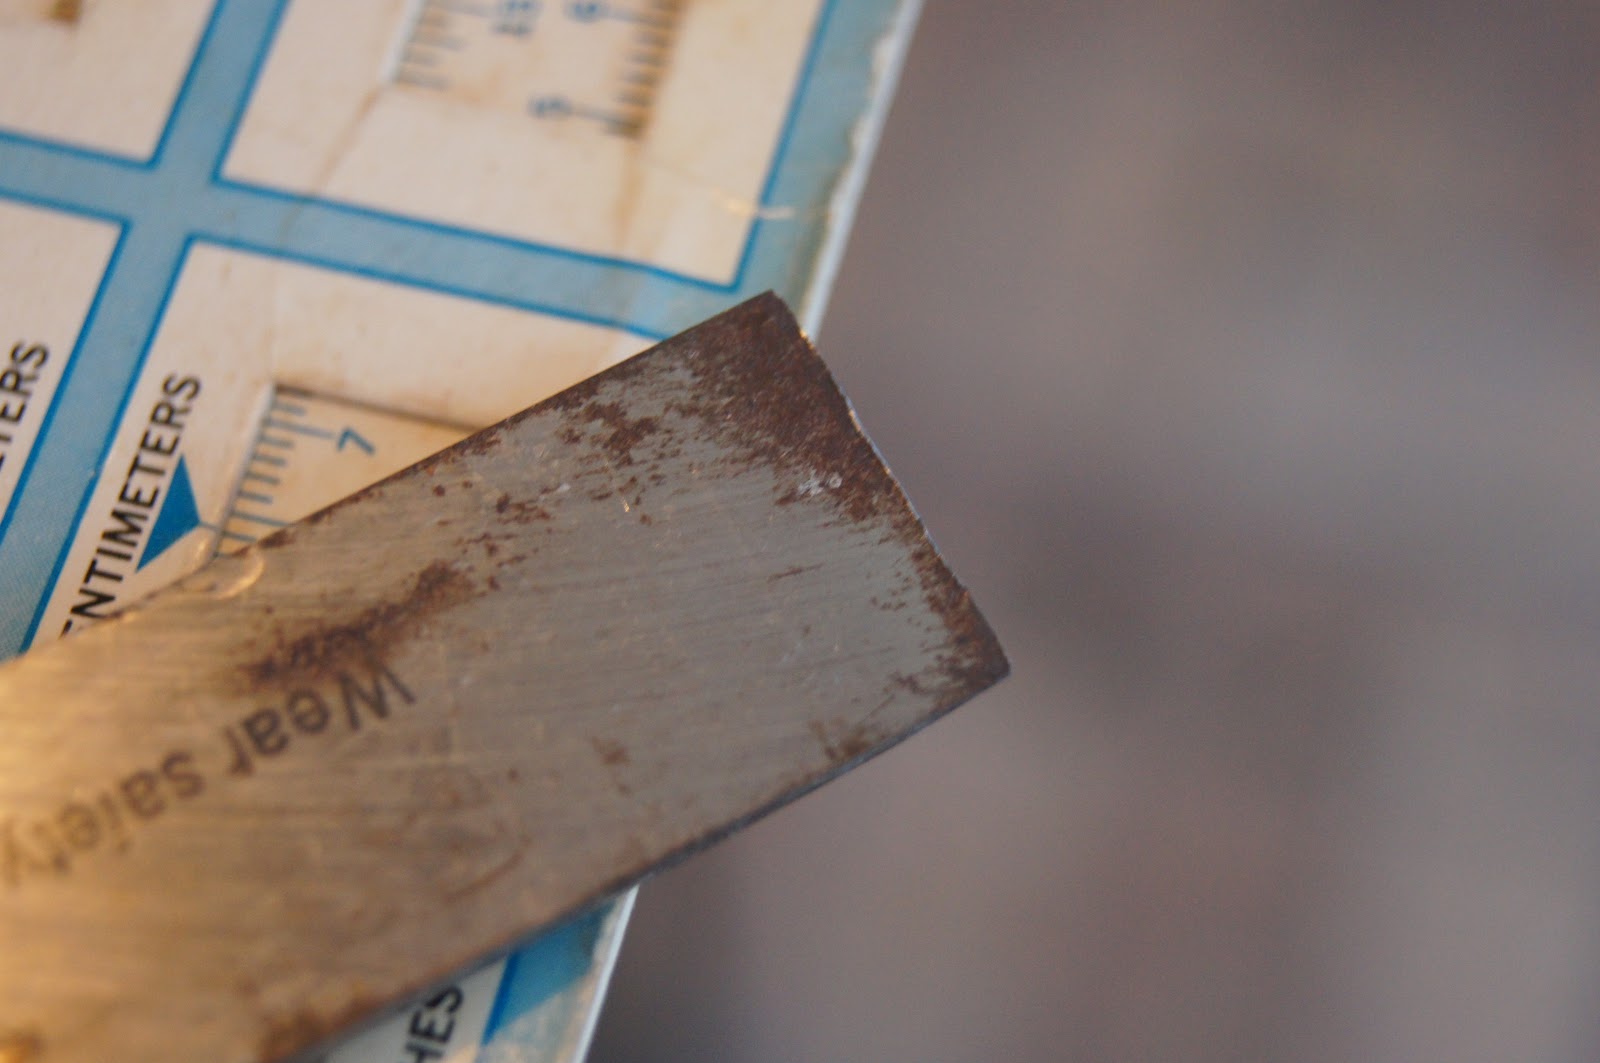 |
| Rusty back of dull chisel. Cutting edge is chipped and rusty. |
 |
| Bevel edge looks pretty sad. |
 |
| Edge not square and chipped. |
 | |
| There's a little gap in the photos here, but all I did was square the edge on a grinder and then hone the bevel edge until I felt a wire edge on the back, which is what this picture demonstrates. |
 |
| After I went through all the different grits, I had a nice mirror polish on the back of the chisel. I only honed the first inch or so which is really all that needs to be. |
 |
| Voila! It shaved a nice thin shaving off my Sharpie! I'm pleased with that! Thanks for reading! |
