Showing posts with label Projects. Show all posts

Monday, August 27, 2012

Stanley Bedrock 606

       I know that it's been a ridiculously long time since I've posted anything on this blog and I apologize to any of you who might actually read it. The gap in posts is due partially to the fact that there hasn't been really all that much to blog about and I really haven't had the time or ambition to post anything. So I thought I'd get back into the blogging mood here and start off with reviewing (otherwise known as bragging if we're honest with ourselves) a new tool I bought recently.
     
       I was going yard sale "shopping" which is a favorite pastime of mine. I found this one yard sale with a large amount of tools and equipment. I scoured for any goodies and items of interest and found none. I was about to leave when something caught my eye. A hand plane. I went to check it out and was surprised at what I saw. For my readers who don't have an extensive knowledge of tools, what I say next will mean almost nothing, but I'll say it anyways. The hand plane was a Stanley Bedrock-No. 606-corrugated bottom-Stanley Sweetheart Iron. Basically, quite the find! Needless to say I grabbed it up paid the 15 bucks the guy wanted and went home with a giant smile on my face, a smile made even larger by the couple other tools I picked up later that day, including a 1910 hand drill. (More on that later) So anyways here's some pics.

The plane was quite dirty when I bought it so I gave it a thorough cleaning. It's in very good condition considering it's age (1925-1934 range)! It has very little rust (mainly on the blade) and the japanning (black paint on the body) is probably 95% there which is good. The sole (bottom) of the plane has pretty much no rust on it and the tote handle and knob are in good shape. So I looked this plane up online and found other ones in similar condition selling in the $200 dollar range! $15 bucks for a $200 dollar plane isn't bad at all! Here are some more pics.


 The "Bed Rock" line of planes were simply a heftier and more accurate model that featured some improvements in the sole and some highly innovative changes to the frog mating surfaces and frog adjustment system.
Model number. (Notice the nearly complete japanning)

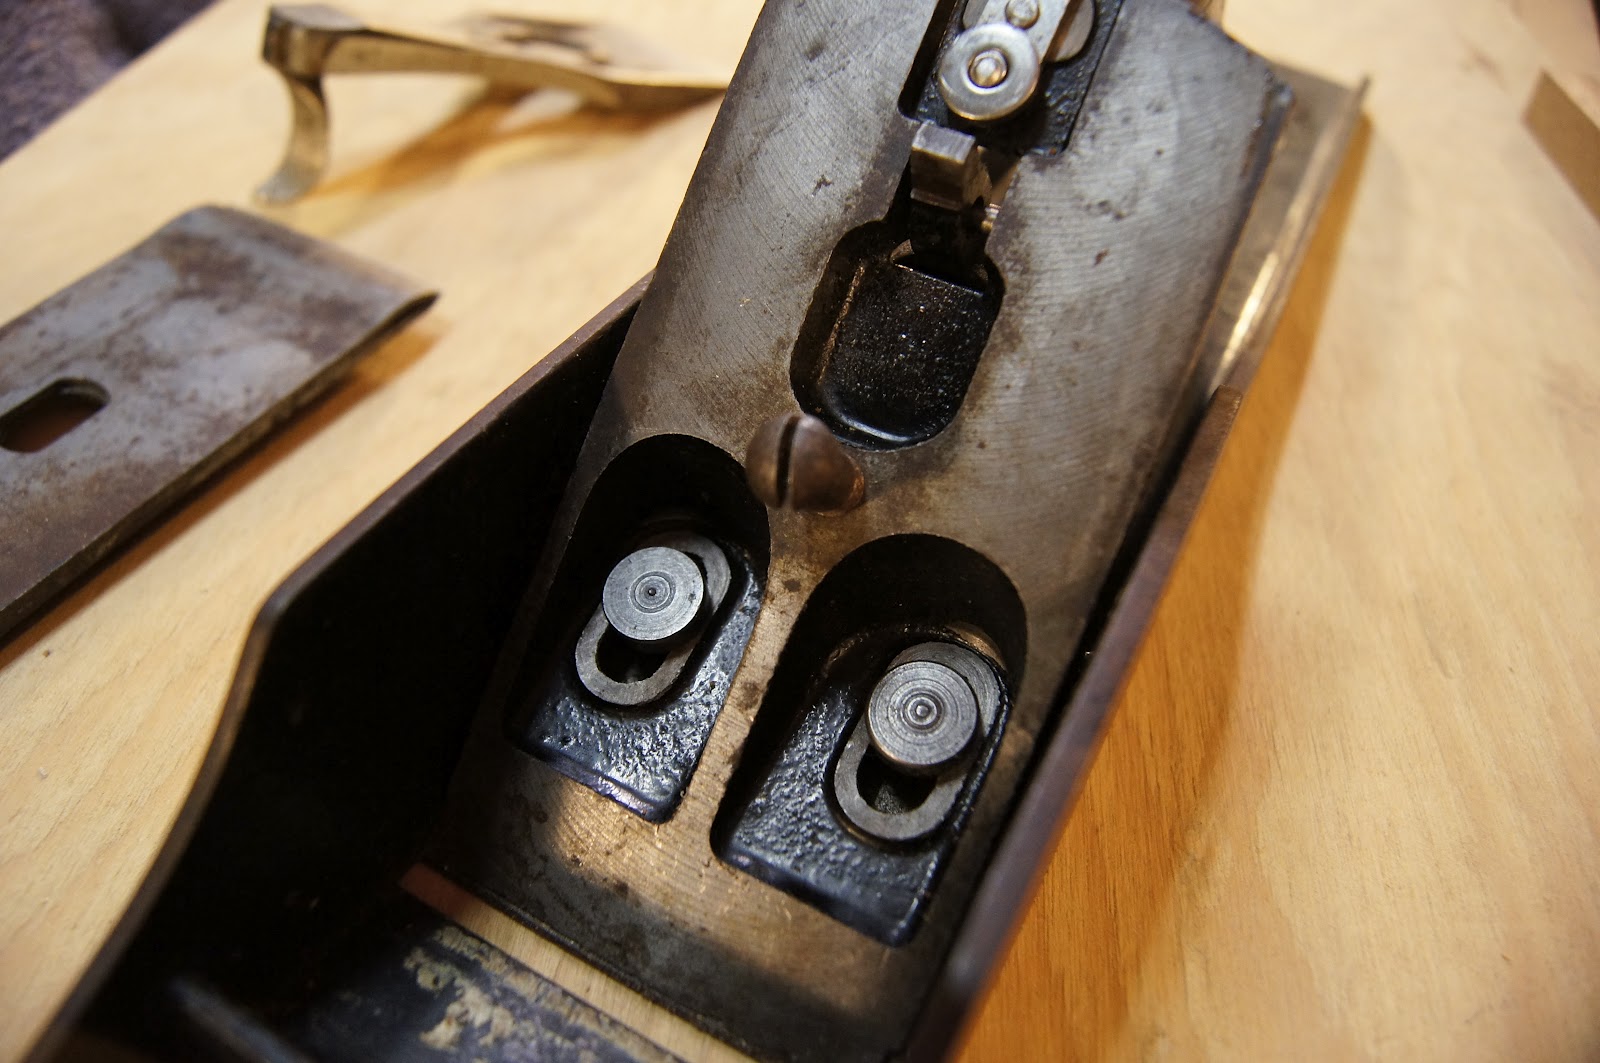
The signature bedrock frog which made "chatter" much less of a problem.

The easy-to-access frog adjustment screws.

Here's the corrugated sole. Basically all this is a sole with grooves so it glides smoother (supposedly) and it makes it easier to flatten the sole if you need to.

Hope you enjoyed seeing pics of this! Soon here I hope to give it a good tuning up and sharpening and then well see how this 80+ year old beast works! Thanks see ya next time!


Saturday, January 7, 2012

"Roubo" Folding Bookstand

  I started this project awhile ago, but didn't get around to finishing it until just recently. It's a bookstand based on a famous design (only among woodworkers I suppose) by the great 18th century French cabinetmaker, Andre Roubo. The bookstand is made entirely of one piece of wood and traditionally is built using entirely hand tools, as they work best for this project. I found this project in a magazine and simply had to try my hand at making it. I had recently purchased a Japanese Ryoba saw and thought that would work best for this project. Perhaps a Japanese saw really shouldn't be used on a French project, but hey, Roubo...Ryoba, their pretty close. Ha! Just as a heads up, this project was made entirely with hand tools and the chisels I used were very dull at the time, so that accounts for many (not all) of my mistakes and the fact that this was initially an experimental project. Well, enough with my jabber, I show you some pics and explain as I go.

First I cut the board to length
Next I divided the board into five equal parts for the hinge by placing a yardstick across the board at a number divisible by 5. Then I marked every two inches and transferred that point down to the part where the hinge would be.
Then I layed out the decorative profile.
The cross section/guidelines for the hinge
Five equal sections for the hinge based on the points layed out earlier
Cut out the profile with coping saw
Coming along pretty good!
Some touch up on the edges
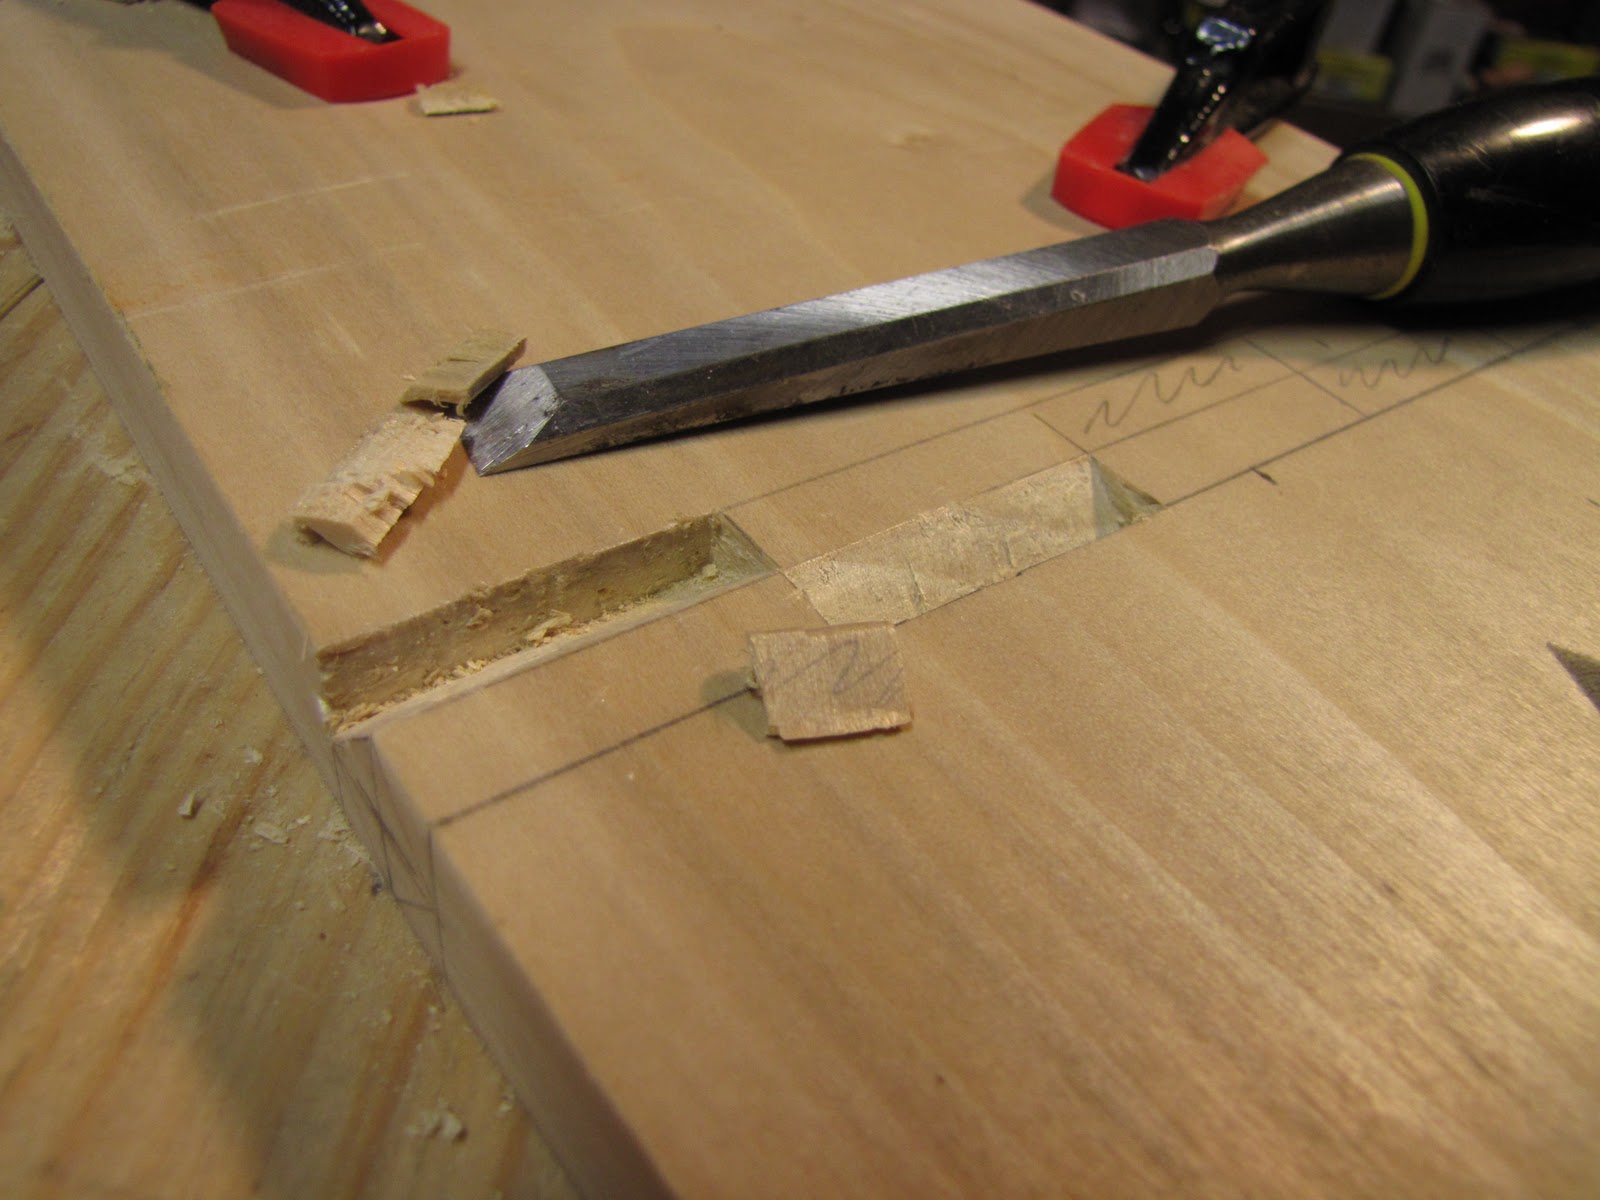
Chiseling out the waste parts for the hinge. I chiseled down at a 45 degree angle until I was exactly halfway through the wood.
Both sides of the hinge chiseled out!
Cutting line through the center of the board.
Sawing the board in half.
I saw down to the hinge point but no further.
And do the same for the bottom half.
Due to the fact that my chisels were poorly sharpened, the hinge didn't come out as clean as I had hoped and so began the many, many hours of sanding and fine tuning the hinge until finally the stand opened up to a complete 90 degrees.
The finished stand
The stand halfway open.
The finished stand completely open.
It works beautifully!
The finished stand turned out very well, considering the tools I used weren't in great condition, and my mom loved it! I plan on making another one now that I my tools are properly sharpened and considering all that I learned while making this one, I'm sure it will turn out even better. Thanks alot for reading and stay tuned for more projects soon!

Wednesday, September 7, 2011

Dovetailed Tray

I received a board from my grandma the other day (isn't my Grandma the best? but most grandsons don't ask their grandmothers for a piece of wood either!). I believe the board is cherry, but I could be wrong. However, I decided to use the board to practice making dovetails. I designed a little tea-type tray and set to work. Here's some pics of the process.

First I cut all the pieces to length on the table saw and ripped the sides to width.

                                  Next I cut the curved profiles of the ends on my bandsaw.

This project wasn't for display or looks as much as it was to practice my techniques. So with every mistake I made with this project, I prevented mistakes on later projects. I was really please with what I learned about dovetails on this project.

So after I set the depth of the tails and pins with my marking gauge, I set to work on the dovetails. There are so many different techniques and methods for making dovetails, that it's hard to decide which to choose. I decided on the Frank Klausz Pins First Method. I won't go into detail explaining this right now.

               Chiseling out the sockets between the pins. Next step: marking out the tails and cutting those.


                                                                       So far so good!

Marking out the centers for the handle slot was actually quite fun. I used a compass to figure out the distances and centers, which is always fun. (At least for me)

I used a 3/4" forstner bit to cut out the end profiles of the handle. That worked pretty good, I felt. I did the first end piece with my cordless drill, which worked okay, but the end result was a little out of square. So, I did the second piece on my dad mill/drill machine. That worked much better.


                                  Next I routed the stopped grooves for the bottom of the tray.

        The grooves on the ends didn't need to stop before the edge, so I did those on the table saw.

Here's the bottom. I actually made this out of a scrap of 1/4" Luan plywood. Not fancy I know, but it worked.

Fit all the pieces together, did some final sanding (well, quite a bit of sanding, but, hey! I'm not perfect!) and then glued and clamped them together.

                                                                   The finished handles.

One set of dovetails. Although not perfect (which it's not supposed to be. That's why it's called "hand made") they were pretty good for me, especially since these are only like my third set of dovetails ever. Maybe fifth, but the first two weren't worthy of being called dovetails. Oh, well. Here's another corner of the tray.


This corner has a few more flaws than the last one, but again, they are hand made. If I made them with a machine, they would probably be close to perfect. But, how personal would that be. I'm not running a business, I'm just having some fun!

And the assembled tray! After I apply some stain and finish, it'll look fine. But, that's in the next post!

Wednesday, August 17, 2011

"5 minute band sawn box"

I decided to have some fun with my new bandsaw the other day, so I made this quickie band sawn box. I didn't take pictures of the process but it was so easy to make that I'll put up the pictures of the next one. Here's some pics.

This was literally made in like 5 minutes. With this one I didn't even really plan ahead. I just was practicing.
 

It was all made from one piece of wood, which makes it kinda neat.
                                          (I'll make another to show you how it was made. So stay tuned!)

Thursday, March 17, 2011

Picture Frames

Here's some pics and jabber about the picture frames I'm making for my Grandma. The design is of my own creation. It's quite simple and considerably easy to make. I used some African Mahogany that I bought at a yard sale last summer. I got the wood for probably about half a penny per foot. Talk about a good deal! The pictures should be explanatory.

First I used my router to make a rabbet cut along the edge of the 3/4" by 1" sides.
(The rabbet cut is that groove along the edge)

Next I cut an bevel along the edge with my tablesaw.
Repeat last two steps 1,849 times. Not really.  Next step: Miter the corners.
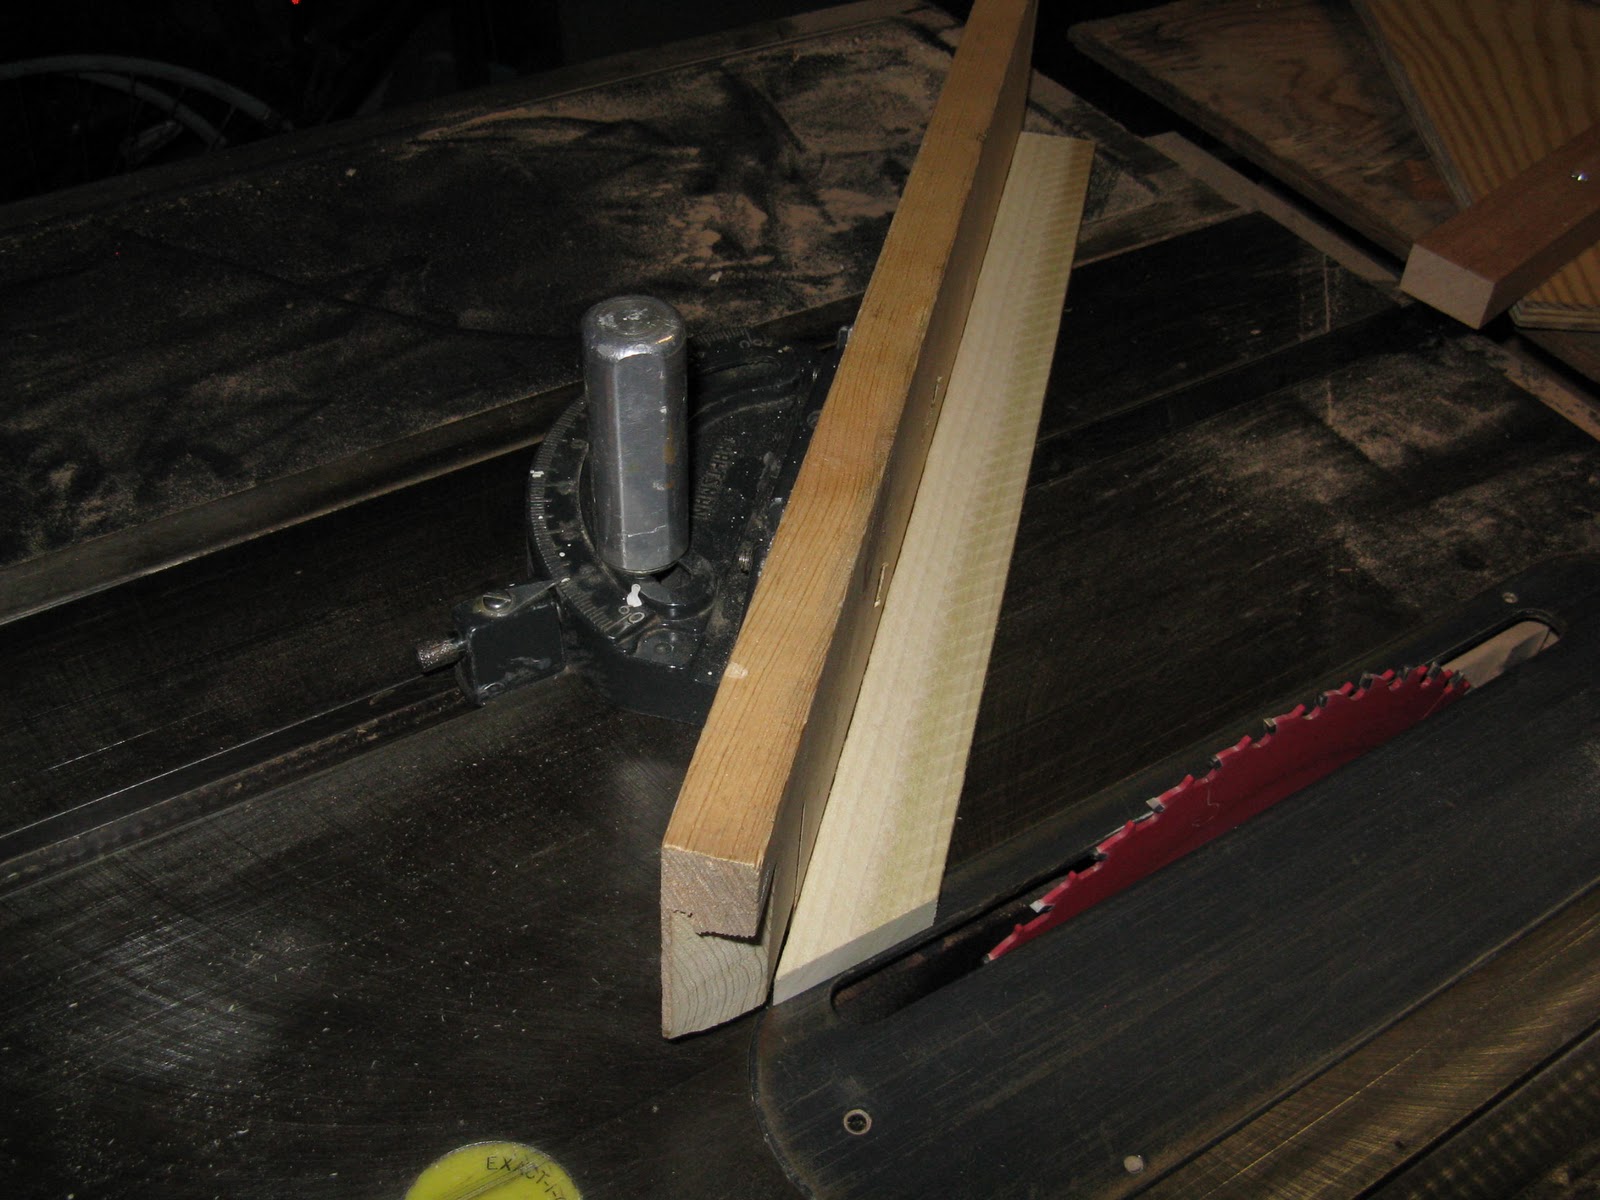
This is where the miter sled I made several day ago comes into play. It made it very quick and easy to cut all these miters.
This is what the final picture frame will look like. There will be 4 just like this one and 2 rectangle ones.
          If you think what you just saw looked complicated, then stick around for the glue-up and finishing! You haven't seen nothing yet. Yes, I must admit; I have a strong dislike for gluing and staining. But, I am not alone. In fact, this is a common feeling for woodworkers. We have put so much effort into building our projects that when it comes time to glue and stain, we dread the thought of something going wrong. Besides that, it's tedious, time-consuming and messy. Oh well, I guess that's just life!

    My next post will show the glue-up and staining processes. See ya!

Thursday, March 10, 2011

The New & Improved Table Saw Miter Sled

  I am making some picture frames for my grandmother right now (more on that in my next post) and since I'll be making tons a 45 degree cuts, I thought it best to make a user friendly and efficient miter jig. I thought of using the traditional one that came with my table saw, but I wasn't looking forward to using it for the 48 cuts I had to make. So, I decided to make a better one.

Here's a pic of the traditional miter jig. Tried and true it may be, but not the best for multiple cuts (at least not the one I have)
 Voila! After 30 minutes of dedicated work, I finished this handy tool.


             Here's a picture of the sled at work. (Well, not really...the saw's not moving)
              So, in sum, now I have a quick and easy way to make all those tricky cuts.
                            Stay tuned to see the picture frames I'll be making with this!