Showing posts with label Tools. Show all posts

Monday, August 27, 2012

Stanley Bedrock 606

       I know that it's been a ridiculously long time since I've posted anything on this blog and I apologize to any of you who might actually read it. The gap in posts is due partially to the fact that there hasn't been really all that much to blog about and I really haven't had the time or ambition to post anything. So I thought I'd get back into the blogging mood here and start off with reviewing (otherwise known as bragging if we're honest with ourselves) a new tool I bought recently.
     
       I was going yard sale "shopping" which is a favorite pastime of mine. I found this one yard sale with a large amount of tools and equipment. I scoured for any goodies and items of interest and found none. I was about to leave when something caught my eye. A hand plane. I went to check it out and was surprised at what I saw. For my readers who don't have an extensive knowledge of tools, what I say next will mean almost nothing, but I'll say it anyways. The hand plane was a Stanley Bedrock-No. 606-corrugated bottom-Stanley Sweetheart Iron. Basically, quite the find! Needless to say I grabbed it up paid the 15 bucks the guy wanted and went home with a giant smile on my face, a smile made even larger by the couple other tools I picked up later that day, including a 1910 hand drill. (More on that later) So anyways here's some pics.

The plane was quite dirty when I bought it so I gave it a thorough cleaning. It's in very good condition considering it's age (1925-1934 range)! It has very little rust (mainly on the blade) and the japanning (black paint on the body) is probably 95% there which is good. The sole (bottom) of the plane has pretty much no rust on it and the tote handle and knob are in good shape. So I looked this plane up online and found other ones in similar condition selling in the $200 dollar range! $15 bucks for a $200 dollar plane isn't bad at all! Here are some more pics.


 The "Bed Rock" line of planes were simply a heftier and more accurate model that featured some improvements in the sole and some highly innovative changes to the frog mating surfaces and frog adjustment system.
Model number. (Notice the nearly complete japanning)

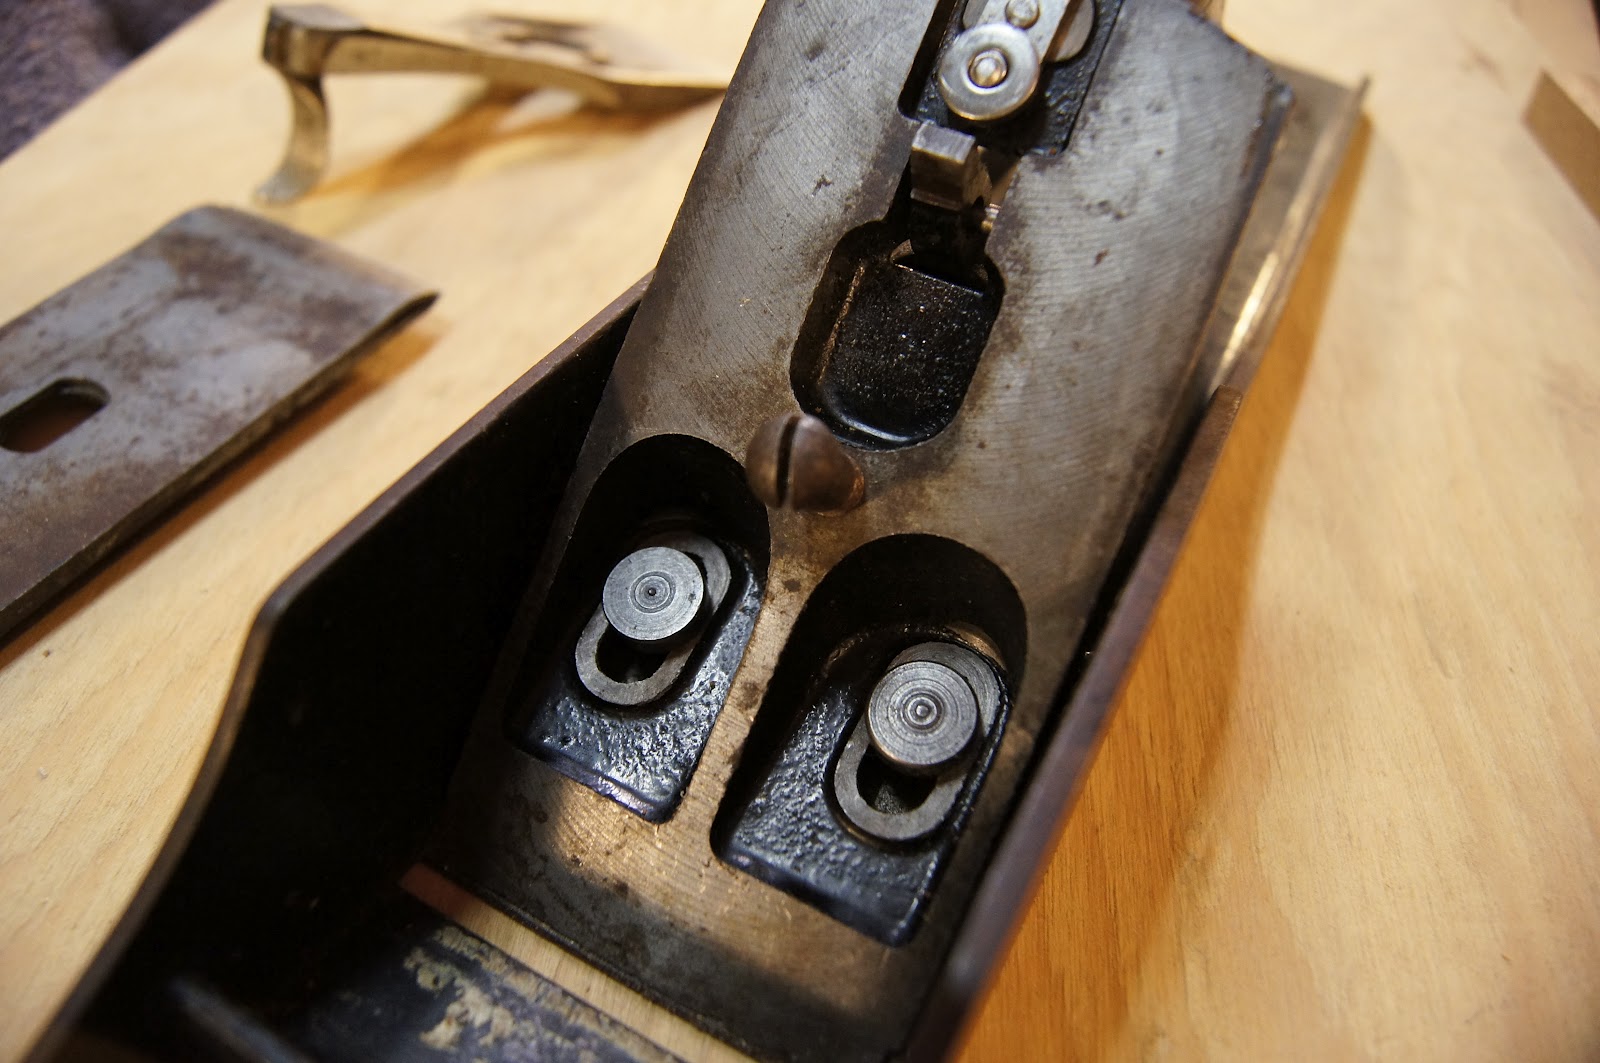
The signature bedrock frog which made "chatter" much less of a problem.

The easy-to-access frog adjustment screws.

Here's the corrugated sole. Basically all this is a sole with grooves so it glides smoother (supposedly) and it makes it easier to flatten the sole if you need to.

Hope you enjoyed seeing pics of this! Soon here I hope to give it a good tuning up and sharpening and then well see how this 80+ year old beast works! Thanks see ya next time!


Wednesday, December 28, 2011

"Scary Sharp" vs. Dull Chisel

 For Christmas I received a bunch of sandpaper so I could create my own "Scary Sharp" sharpening system. This system basically replaces expensive waterstones with much cheaper sandpaper. Unlike water and oil stones, this system doesn't require periodic flattening, because the sandpaper is adhered to a sheet of 1/4 plate glass or granite slab, which are pretty much wear-proof. 
  To use you simply stick the various grits of wet/dry sandpaper to the glass, either by using adhesive backed sandpaper or adhesive spray. The grits usually range from between 80 to 2000.  To start you wet the paper lightly and using a angle guide (or without if your really brave) move the chisel in a firm consistent back and forth motion trying to use all of the paper evenly. After awhile, you'll begin to feel a small wire edge on the back of the chisel. When you feel this edge along the entire back of the chisel, it's time to start honing the back of the chisel. Do this until the wire edge is gone.  I usually do this twice on the coarser grits. Repeat the process of "honing the bevel edge until you feel a wire edge on the back then hone the back until it's gone" for all the rest of the grits. I will sometimes do it twice on a certain grit if I think it needs it. Let's skip to some pictures to help explain.
 

Glass plates with different grits marked by labels.

Rusty back of dull chisel. Cutting edge is chipped and rusty.

Bevel edge looks pretty sad.
Edge not square and chipped.
There's a little gap in the photos here, but all I did was square the edge on a grinder and then hone the bevel edge until I felt a wire edge on the back, which is what this picture demonstrates.
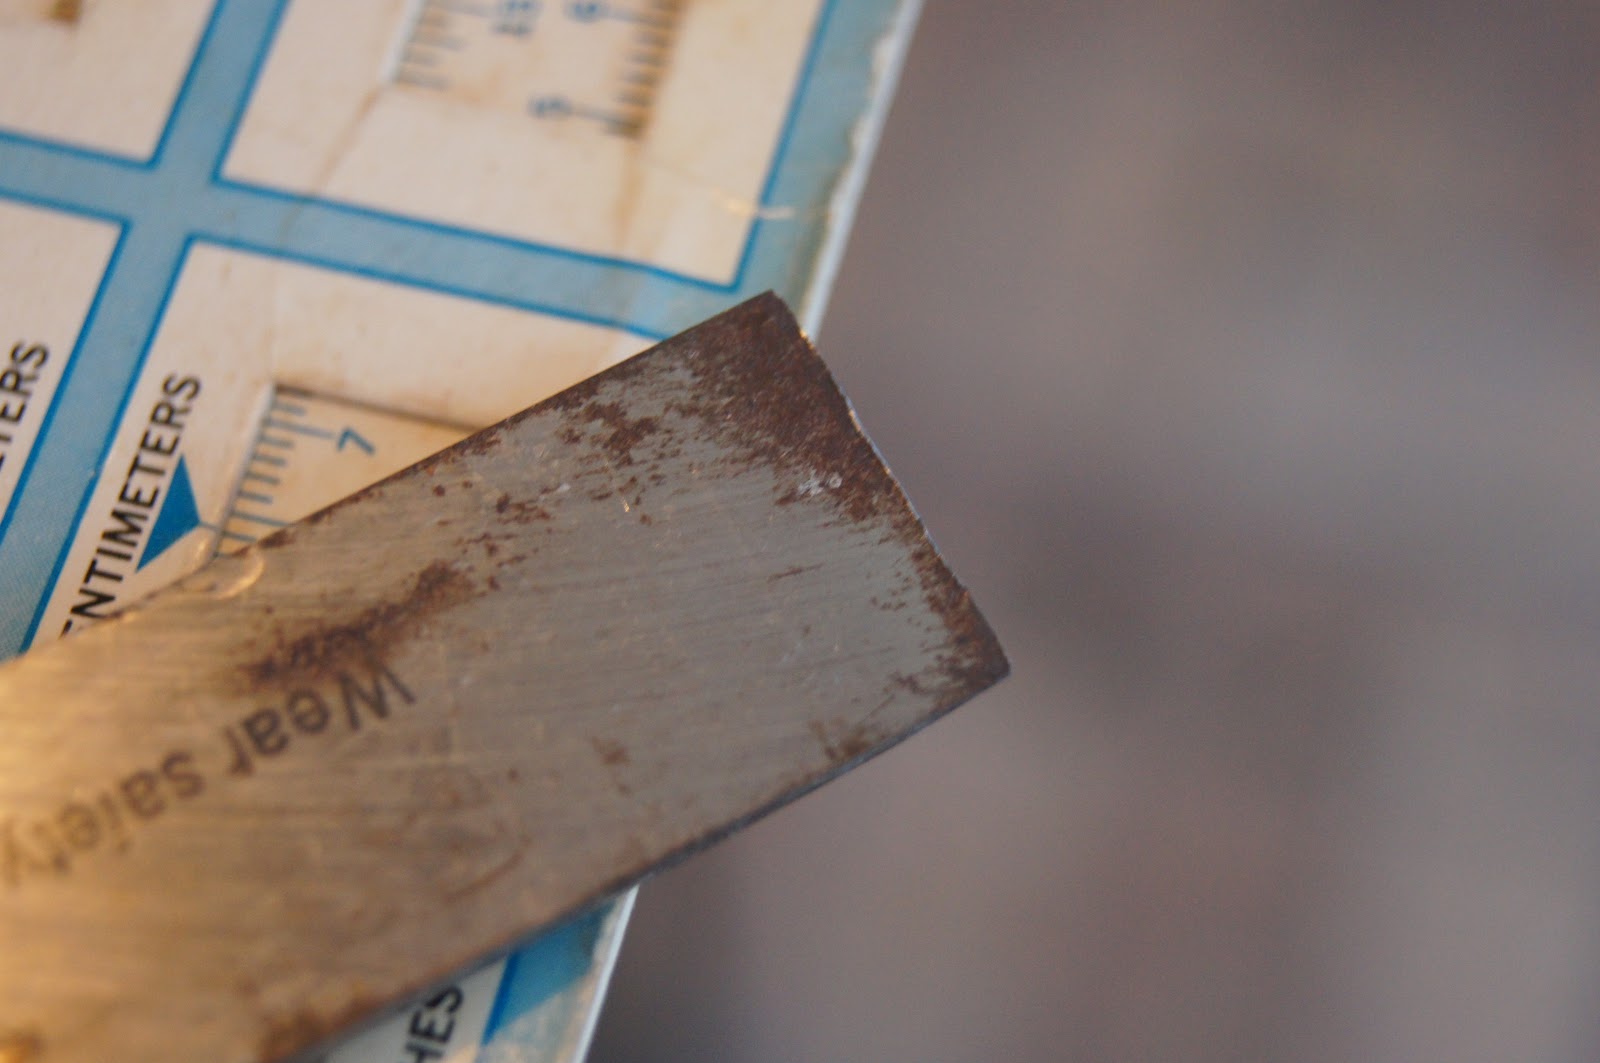
After I went through all the different grits, I had a nice mirror polish on the back of the chisel. I only honed the first inch or so which is really all that needs to be.
Voila! It shaved a nice thin shaving off my Sharpie! I'm pleased with that! Thanks for reading!

Thursday, August 11, 2011

"New" Bandsaw

Here's some pics of a bandsaw I bought from my neighbor for $25.  I saw it sitting under a pile of stuff and covered in dust. We pulled it out and I asked if he would be willing to sell it. He did and I wound up with a great tool! I took it home, cleaned off the dust, and the saw turned out to be a decent tool. I did a little tweaking, got everything in line, and bought a new blade. Voila! Good as new.

Now I need to start practicing techniques and get this tool to work!

Tuesday, July 19, 2011

New Makita Battery

Sorry about the huge gap in posts. Between finishing up school, graduating, vacations, and a hectic schedule, I've found it hard to find time for the woodworking or my blog. So here's a post.
 

When I purchased the Makita cordless drill set mentioned in the last post, it came with a mail-in-rebate offer for a larger battery. I sent in the information required and waited. My patience paid off when this afternoon FedEx pulled up to my door with nice surprise. So here's a pic and specs of the free battery I received.
The batteries that came with the drill set were 1.5 ah. (amp hours).
Amp hours are kinda hard to explain, but how I undertstand it is that this battery, being a 3.0 ah, has twice the
available power than the 1.5 ah ones. So with this one I'll be able to drive deck screws for twice as long, or something to that effect. The best part: I now have a $100 battery and didn't pay a cent!  

Saturday, June 4, 2011

New Cordless Drill

I recently bought a new cordless drill for my shop. It's a Makita BDF452. It's has an 1.5 ah, 18 volt, lithium ion battery. The kit I bought came with a Makita BDT142 Impact driver. It has 1,280 in/lbs of torque at 3,200 impacts a minute. I haven't used these a great deal, but I have used them enough to say that I am very pleased with these tools. They are extremely lightweight, yet have more than enough power. The 18 volt batteries work very well, and charge in an unbelievable 15 minutes! Lithium Ion is definitely the way to go! Needless to say, you won't run out of juice before the other battery is charged. Here are a couple pics with explanations.

Here's a pic of the whole package. It came with two batteries a quick charger with built in cooling fan, a durable carrying case. And of course, the two drills. I also received a mail in rebate offer for a free larger 3.0 ah battery.

This the 18 volt drill. It has a 1/2 chuck, LED worklight, two speed, all metal transmission, 450 in/lbs of torque, a belt clip, and 17 torque settings. To top it off, it only weighs 3.5 lbs and is only 8 in. long!

This bad boy is pretty sweet. When I first bought this set I thought what use would I have for this? Well, I found out. It works beautifully for driving screws, lag bolts, drilling, and loosening stuck bolts. It drives the screw like super fast and if the torque reaches a certain point it uses it's impact setting to easily drive it the rest of the way. Now, don't get this confused with an impact WRENCH. An impact wrench is mainly used for much beefier tasks like heavy duty automotive work or metal construction jobs. This driver also has a quick release chuck, led worklight, belt clip, and a glow in the dark rubber ring near the chuck (something I didn't notice until the other day).

I hope to use these tools for many more years (they come with a 3 year warranty) and don't expect them to fail any time soon. (I saw a video on you tube that showed the impact driver completely cracked in half and it still worked!)

Friday, May 6, 2011

New Scroll Saw

Sorry about the huge gap between blog posts. I have been kept very busy with life and school and haven't had time to do much in the shop. The picture frames shown in my last post have taken a pause for now, but I hope to find time to finish them sometime next week. Oh well, I guess that's life! Haha!


 However I was able to purchase some new tools with money I earned working in the grapes. I decided to buy this scroll saw. It's not top of the line, but it suits my scroll sawing needs just fine! (I'm also gonna buy some more stuff, but I'll show that later.)

Don't worry, I'll be posting the rest of the picture frame posts soon here. (As soon as I find time to finish them) I'll also put up some pics of the some gifts I'm making for Mother's Day.   Thanks for visiting!

Thursday, March 10, 2011

The New & Improved Table Saw Miter Sled

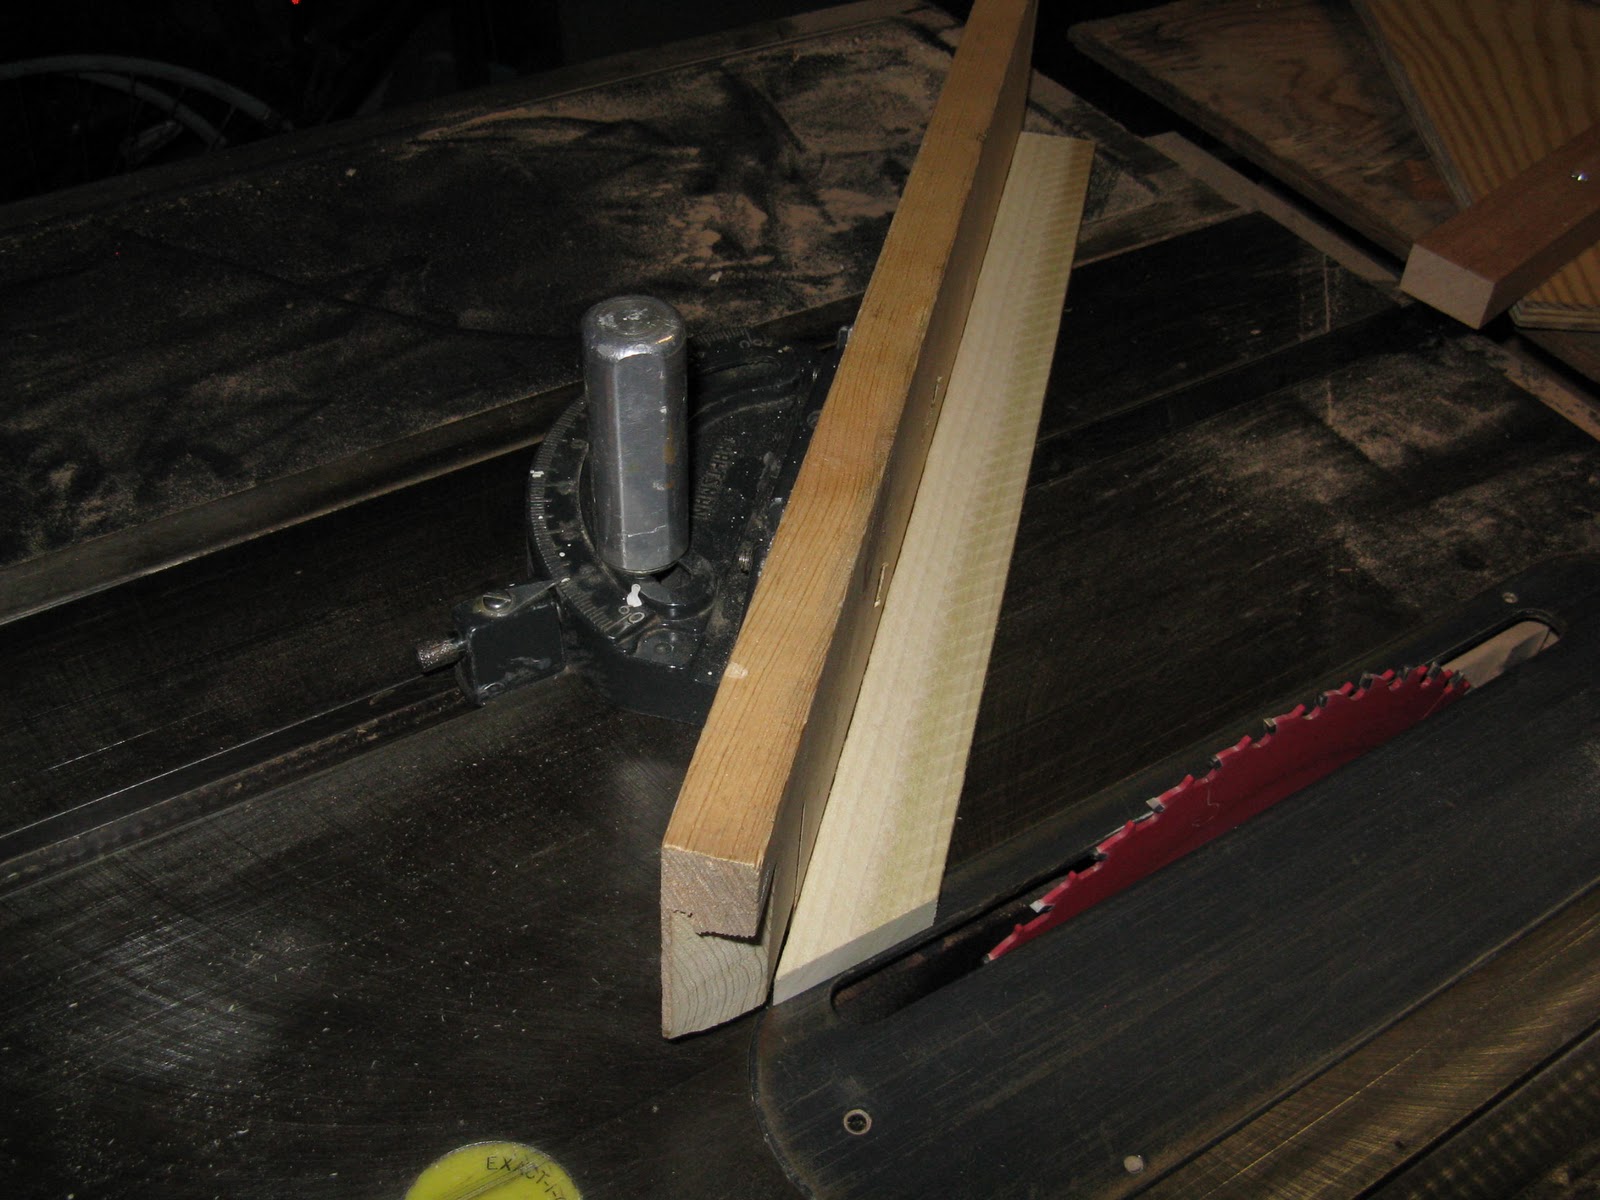
  I am making some picture frames for my grandmother right now (more on that in my next post) and since I'll be making tons a 45 degree cuts, I thought it best to make a user friendly and efficient miter jig. I thought of using the traditional one that came with my table saw, but I wasn't looking forward to using it for the 48 cuts I had to make. So, I decided to make a better one.

Here's a pic of the traditional miter jig. Tried and true it may be, but not the best for multiple cuts (at least not the one I have)
 Voila! After 30 minutes of dedicated work, I finished this handy tool.


             Here's a picture of the sled at work. (Well, not really...the saw's not moving)
              So, in sum, now I have a quick and easy way to make all those tricky cuts.
                            Stay tuned to see the picture frames I'll be making with this!

Thursday, February 17, 2011

Woodshop Tour


Here's a bunch of pics of my shop. Enjoy your tour!


 Overall view of the shop.
"Aerial" view of the shop.


                                              Cross-cut Sled for the table saw.

                                                          Plunge router and accessories
                                                       Belt sanders, sandpaper, and tool manuals 
                                                    Extra bench with drills and drill bits 
                                                           Bunch of tools 

                                                              Hand saws 
                                                           Optional machinist's vise 

                                                  Mini lathe and tools. Haven't got this running yet.    


                                                 And of course some music!          

                        I will have more pictures up soon of projects I'm working on.
                      Bye the way, if anyone has any information on tools or wood for sale, I
                       would appreciate it. I can always use more supplies as I build up my shop!