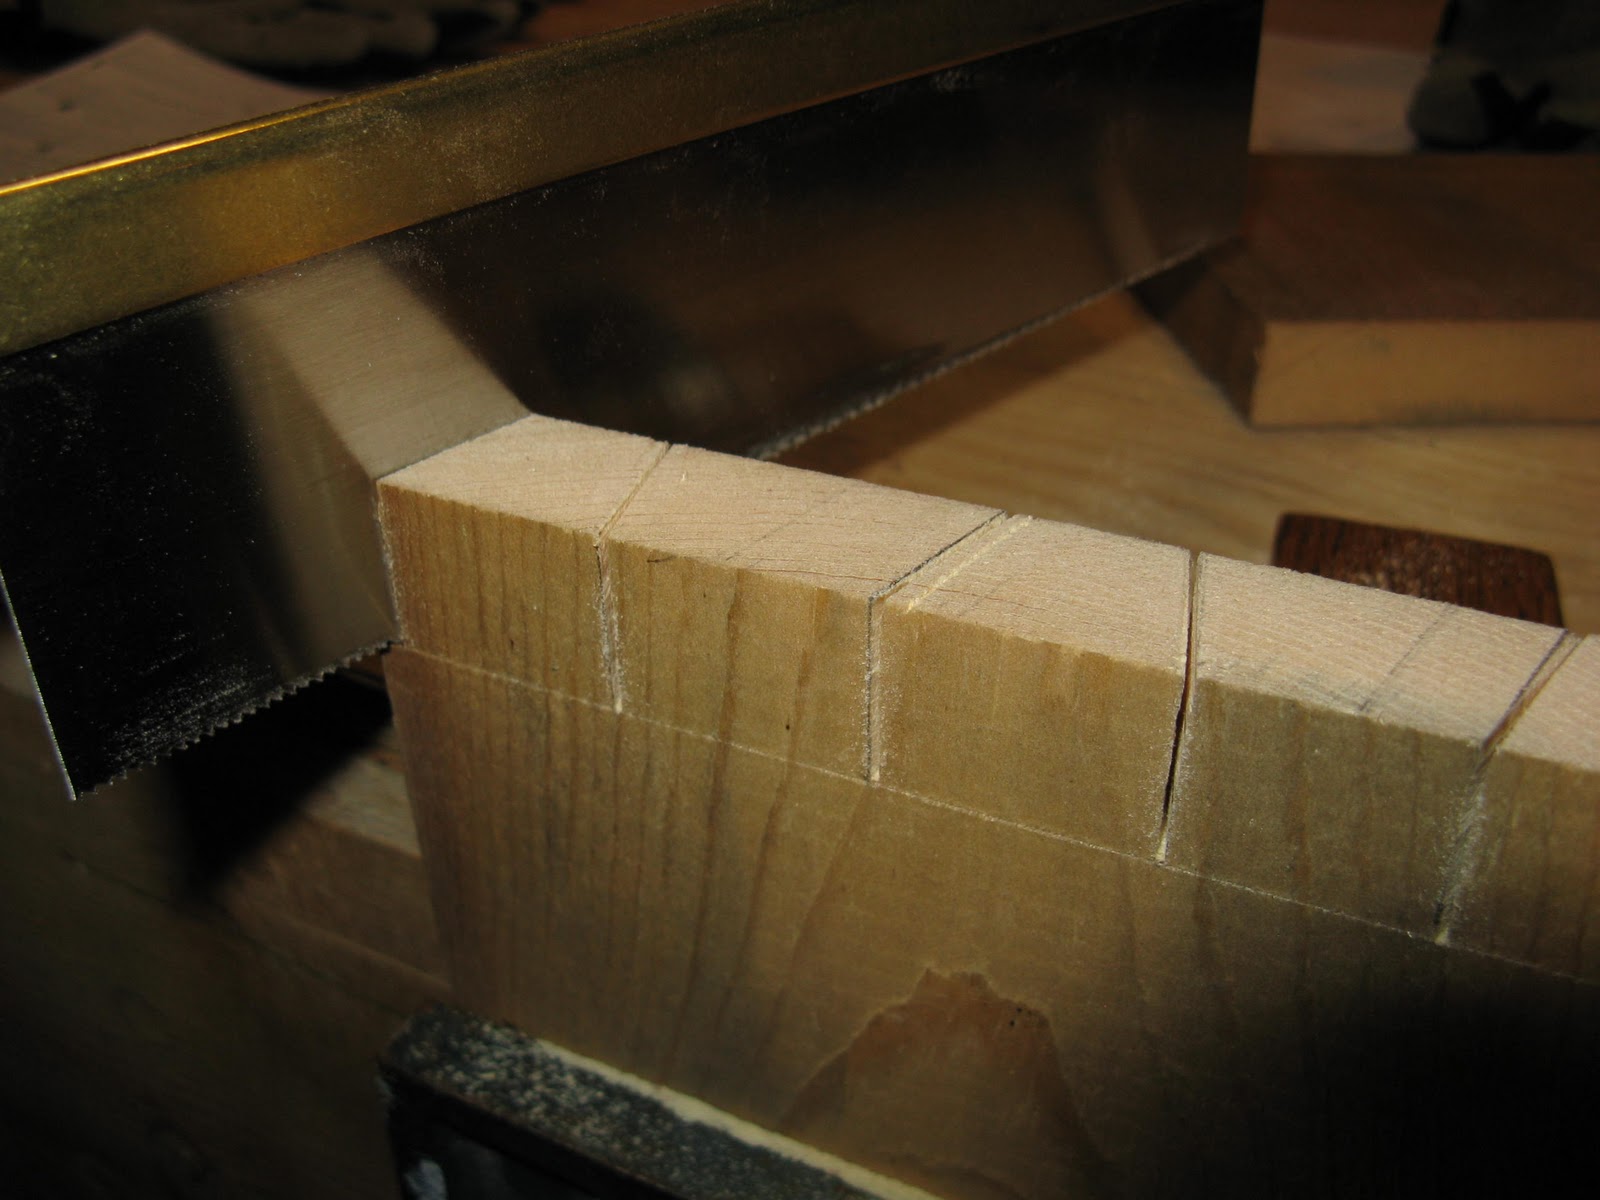
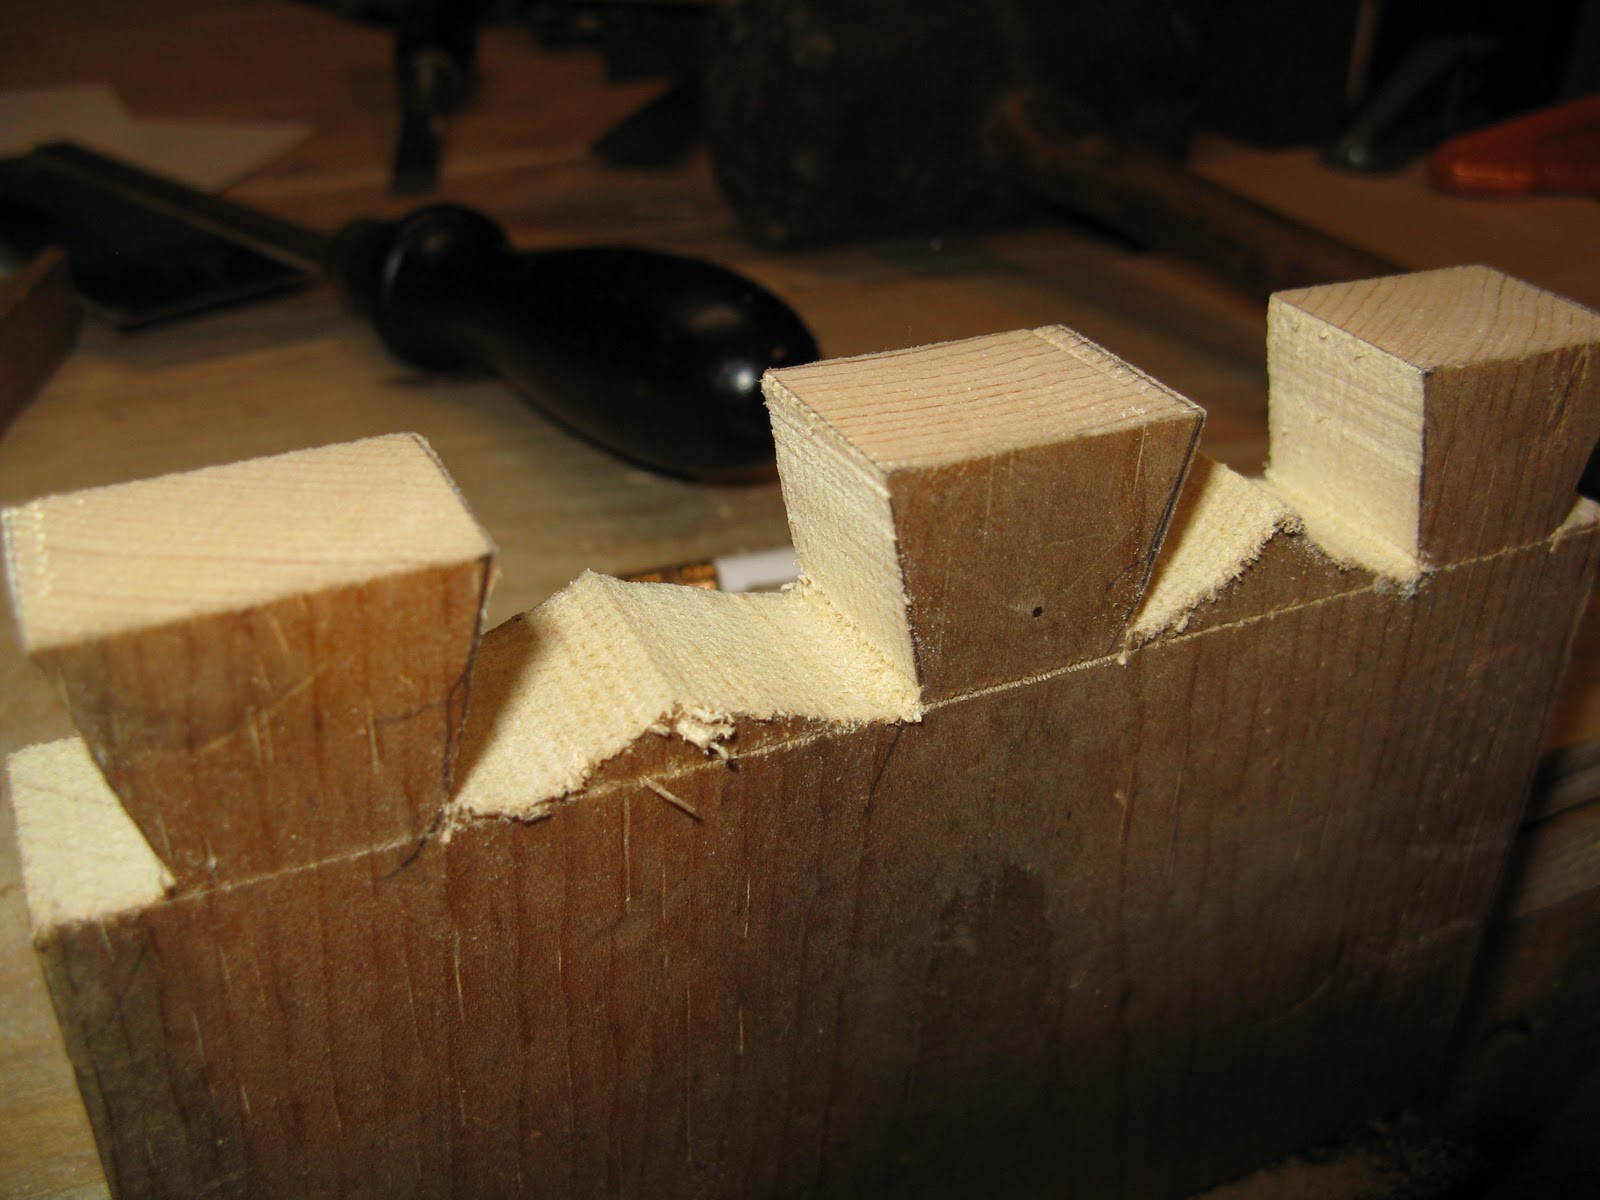
I received a board from my grandma the other day (isn't my Grandma the best? but most grandsons don't ask their grandmothers for a piece of wood either!). I believe the board is cherry, but I could be wrong. However, I decided to use the board to practice making dovetails. I designed a little tea-type tray and set to work. Here's some pics of the process.
First I cut all the pieces to length on the table saw and ripped the sides to width.
Next I cut the curved profiles of the ends on my bandsaw.
This project wasn't for display or looks as much as it was to practice my techniques. So with every mistake I made with this project, I prevented mistakes on later projects. I was really please with what I learned about dovetails on this project.
So after I set the depth of the tails and pins with my marking gauge, I set to work on the dovetails. There are so many different techniques and methods for making dovetails, that it's hard to decide which to choose. I decided on the Frank Klausz Pins First Method. I won't go into detail explaining this right now.
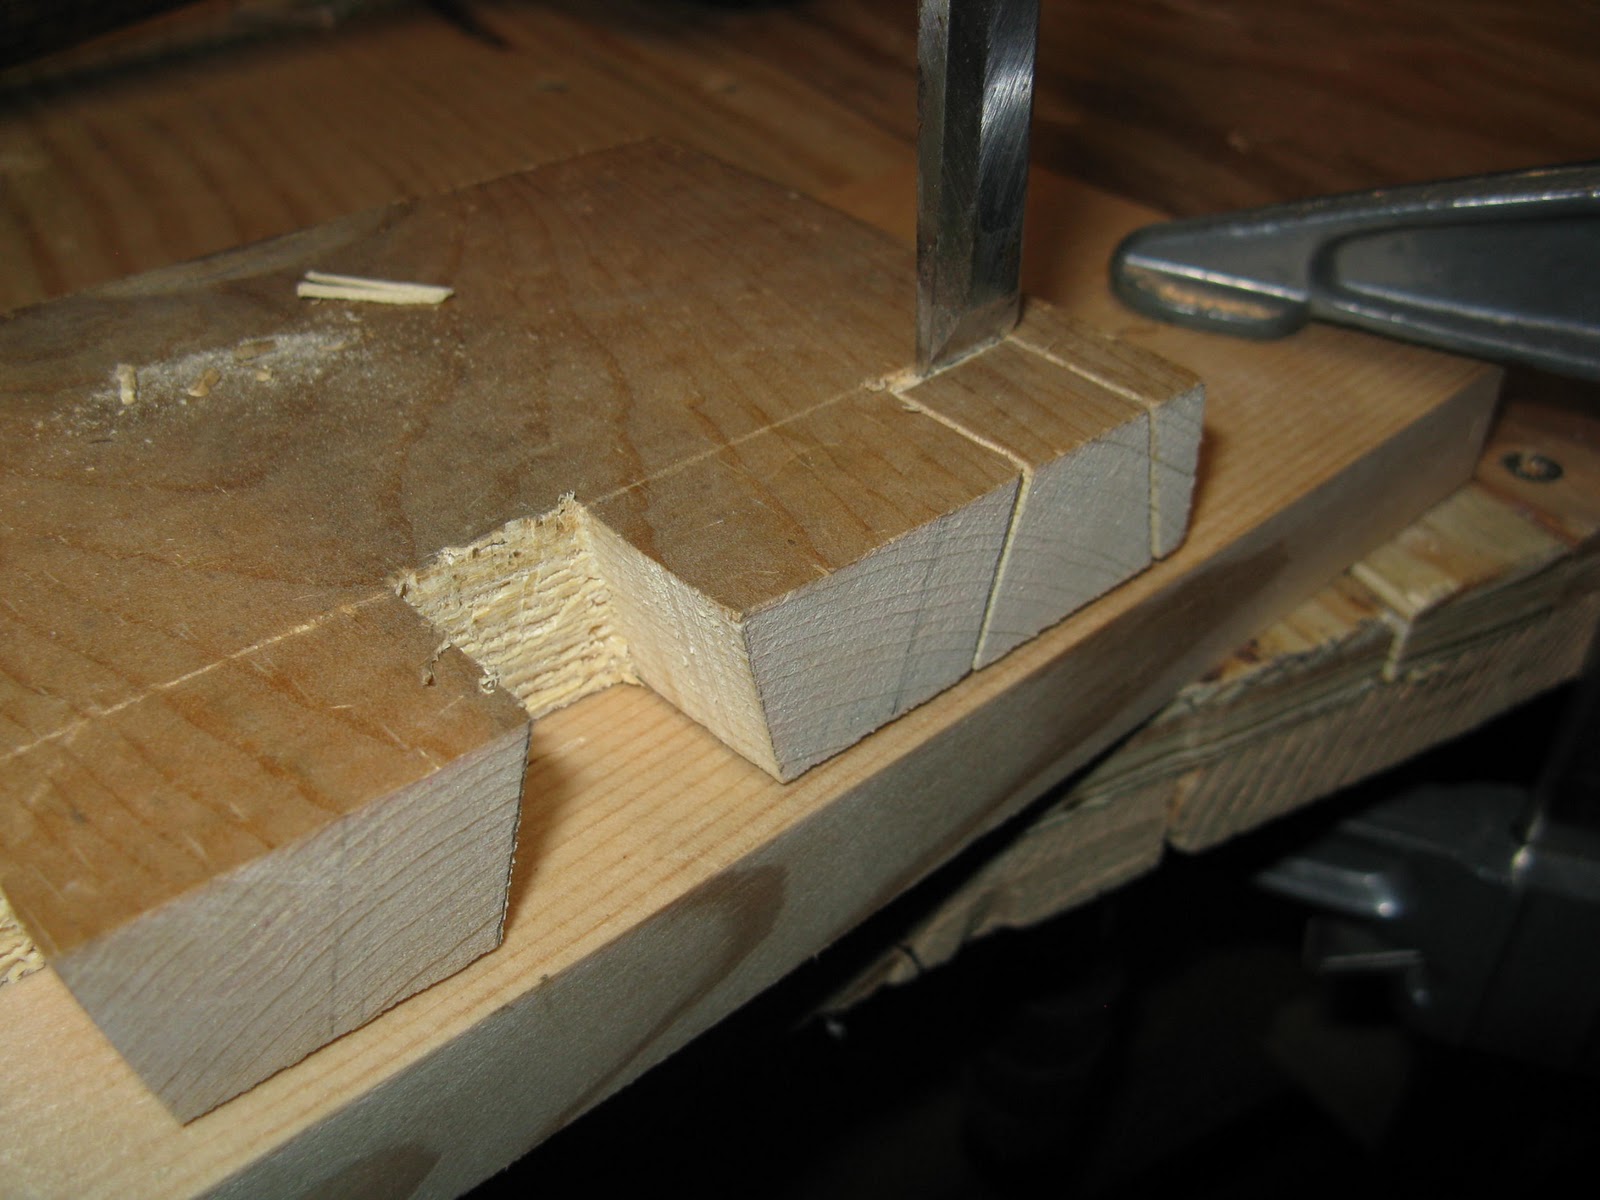
Chiseling out the sockets between the pins. Next step: marking out the tails and cutting those.
So far so good!
Marking out the centers for the handle slot was actually quite fun. I used a compass to figure out the distances and centers, which is always fun. (At least for me)
I used a 3/4" forstner bit to cut out the end profiles of the handle. That worked pretty good, I felt. I did the first end piece with my cordless drill, which worked okay, but the end result was a little out of square. So, I did the second piece on my dad mill/drill machine. That worked much better.
Next I routed the stopped grooves for the bottom of the tray.
The grooves on the ends didn't need to stop before the edge, so I did those on the table saw.
Here's the bottom. I actually made this out of a scrap of 1/4" Luan plywood. Not fancy I know, but it worked.
Fit all the pieces together, did some final sanding (well, quite a bit of sanding, but, hey! I'm not perfect!) and then glued and clamped them together.
The finished handles.
One set of dovetails. Although not perfect (which it's not supposed to be. That's why it's called "hand made") they were pretty good for me, especially since these are only like my third set of dovetails ever. Maybe fifth, but the first two weren't worthy of being called dovetails. Oh, well. Here's another corner of the tray.
This corner has a few more flaws than the last one, but again, they are hand made. If I made them with a machine, they would probably be close to perfect. But, how personal would that be. I'm not running a business, I'm just having some fun!
And the assembled tray! After I apply some stain and finish, it'll look fine. But, that's in the next post!
Showing posts with label Techniques. Show all posts
Wednesday, September 7, 2011
Wednesday, August 17, 2011
"5 minute band sawn box"
I decided to have some fun with my new bandsaw the other day, so I made this quickie band sawn box. I didn't take pictures of the process but it was so easy to make that I'll put up the pictures of the next one. Here's some pics.
(I'll make another to show you how it was made. So stay tuned!)
| This was literally made in like 5 minutes. With this one I didn't even really plan ahead. I just was practicing. |
| It was all made from one piece of wood, which makes it kinda neat. |
Thursday, March 17, 2011
Picture Frames
Here's some pics and jabber about the picture frames I'm making for my Grandma. The design is of my own creation. It's quite simple and considerably easy to make. I used some African Mahogany that I bought at a yard sale last summer. I got the wood for probably about half a penny per foot. Talk about a good deal! The pictures should be explanatory.
If you think what you just saw looked complicated, then stick around for the glue-up and finishing! You haven't seen nothing yet. Yes, I must admit; I have a strong dislike for gluing and staining. But, I am not alone. In fact, this is a common feeling for woodworkers. We have put so much effort into building our projects that when it comes time to glue and stain, we dread the thought of something going wrong. Besides that, it's tedious, time-consuming and messy. Oh well, I guess that's just life!
My next post will show the glue-up and staining processes. See ya!
| First I used my router to make a rabbet cut along the edge of the 3/4" by 1" sides. (The rabbet cut is that groove along the edge) |
| Next I cut an bevel along the edge with my tablesaw. |
| Repeat last two steps 1,849 times. Not really. Next step: Miter the corners. |
| This is where the miter sled I made several day ago comes into play. It made it very quick and easy to cut all these miters. |
| This is what the final picture frame will look like. There will be 4 just like this one and 2 rectangle ones. |
My next post will show the glue-up and staining processes. See ya!
Wednesday, February 23, 2011
Dovetail Practice
| First I checked the thickness of my board with my marking gauge. |
| Then I transferred that measurement to other board as a guideline for my depth of cut |
| Next I layed out the pins. I used the "Frank Klausz method"and started with the half pins. |
| Cutting the pins. (Be careful not to cut below your marking gauge line.) |
| Chiseling out the waste. (Ugh. I need to sharpen my chisel) |
| I transferred the markings to the other board with a sharp pencil like this. |
| Cutting the tails. |
| I cut out the waste between the tails with a coping saw. |
| I think it worked pretty good. I easily chiseled out the rest. |
| Chiseling out the waste and cleaning up the edges. |
| The finished joint. I think it turned out pretty good. I'm not expert or even an intermediate, but practice makes perfect and so I feel these are satisfactory. |
| With any luck, my dovetail joints will continue to look better and better! Anyway, it was time well spent. |
Subscribe to:
Posts (Atom)