Saturday, January 7, 2012

"Roubo" Folding Bookstand

  I started this project awhile ago, but didn't get around to finishing it until just recently. It's a bookstand based on a famous design (only among woodworkers I suppose) by the great 18th century French cabinetmaker, Andre Roubo. The bookstand is made entirely of one piece of wood and traditionally is built using entirely hand tools, as they work best for this project. I found this project in a magazine and simply had to try my hand at making it. I had recently purchased a Japanese Ryoba saw and thought that would work best for this project. Perhaps a Japanese saw really shouldn't be used on a French project, but hey, Roubo...Ryoba, their pretty close. Ha! Just as a heads up, this project was made entirely with hand tools and the chisels I used were very dull at the time, so that accounts for many (not all) of my mistakes and the fact that this was initially an experimental project. Well, enough with my jabber, I show you some pics and explain as I go.

First I cut the board to length
Next I divided the board into five equal parts for the hinge by placing a yardstick across the board at a number divisible by 5. Then I marked every two inches and transferred that point down to the part where the hinge would be.
Then I layed out the decorative profile.
The cross section/guidelines for the hinge
Five equal sections for the hinge based on the points layed out earlier
Cut out the profile with coping saw
Coming along pretty good!
Some touch up on the edges
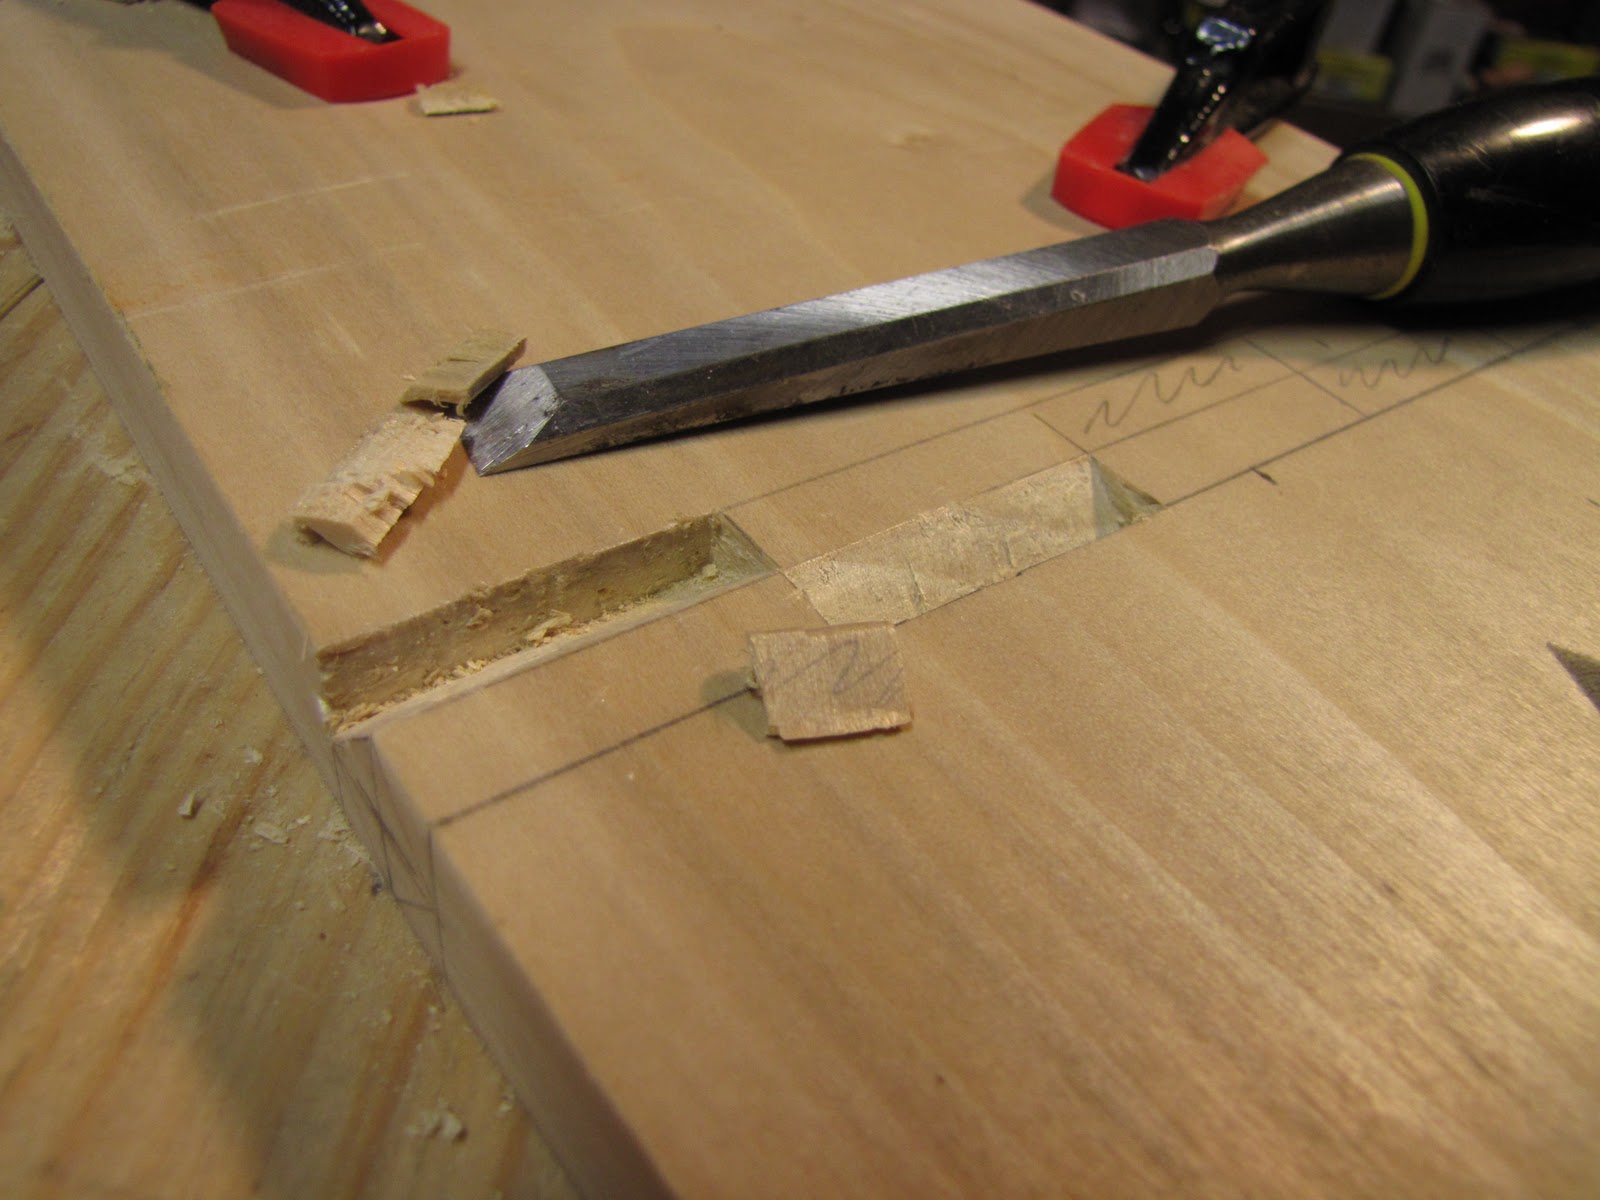
Chiseling out the waste parts for the hinge. I chiseled down at a 45 degree angle until I was exactly halfway through the wood.
Both sides of the hinge chiseled out!
Cutting line through the center of the board.
Sawing the board in half.
I saw down to the hinge point but no further.
And do the same for the bottom half.
Due to the fact that my chisels were poorly sharpened, the hinge didn't come out as clean as I had hoped and so began the many, many hours of sanding and fine tuning the hinge until finally the stand opened up to a complete 90 degrees.
The finished stand
The stand halfway open.
The finished stand completely open.
It works beautifully!
The finished stand turned out very well, considering the tools I used weren't in great condition, and my mom loved it! I plan on making another one now that I my tools are properly sharpened and considering all that I learned while making this one, I'm sure it will turn out even better. Thanks alot for reading and stay tuned for more projects soon!

Wednesday, December 28, 2011

"Scary Sharp" vs. Dull Chisel

 For Christmas I received a bunch of sandpaper so I could create my own "Scary Sharp" sharpening system. This system basically replaces expensive waterstones with much cheaper sandpaper. Unlike water and oil stones, this system doesn't require periodic flattening, because the sandpaper is adhered to a sheet of 1/4 plate glass or granite slab, which are pretty much wear-proof. 
  To use you simply stick the various grits of wet/dry sandpaper to the glass, either by using adhesive backed sandpaper or adhesive spray. The grits usually range from between 80 to 2000.  To start you wet the paper lightly and using a angle guide (or without if your really brave) move the chisel in a firm consistent back and forth motion trying to use all of the paper evenly. After awhile, you'll begin to feel a small wire edge on the back of the chisel. When you feel this edge along the entire back of the chisel, it's time to start honing the back of the chisel. Do this until the wire edge is gone.  I usually do this twice on the coarser grits. Repeat the process of "honing the bevel edge until you feel a wire edge on the back then hone the back until it's gone" for all the rest of the grits. I will sometimes do it twice on a certain grit if I think it needs it. Let's skip to some pictures to help explain.
 

Glass plates with different grits marked by labels.

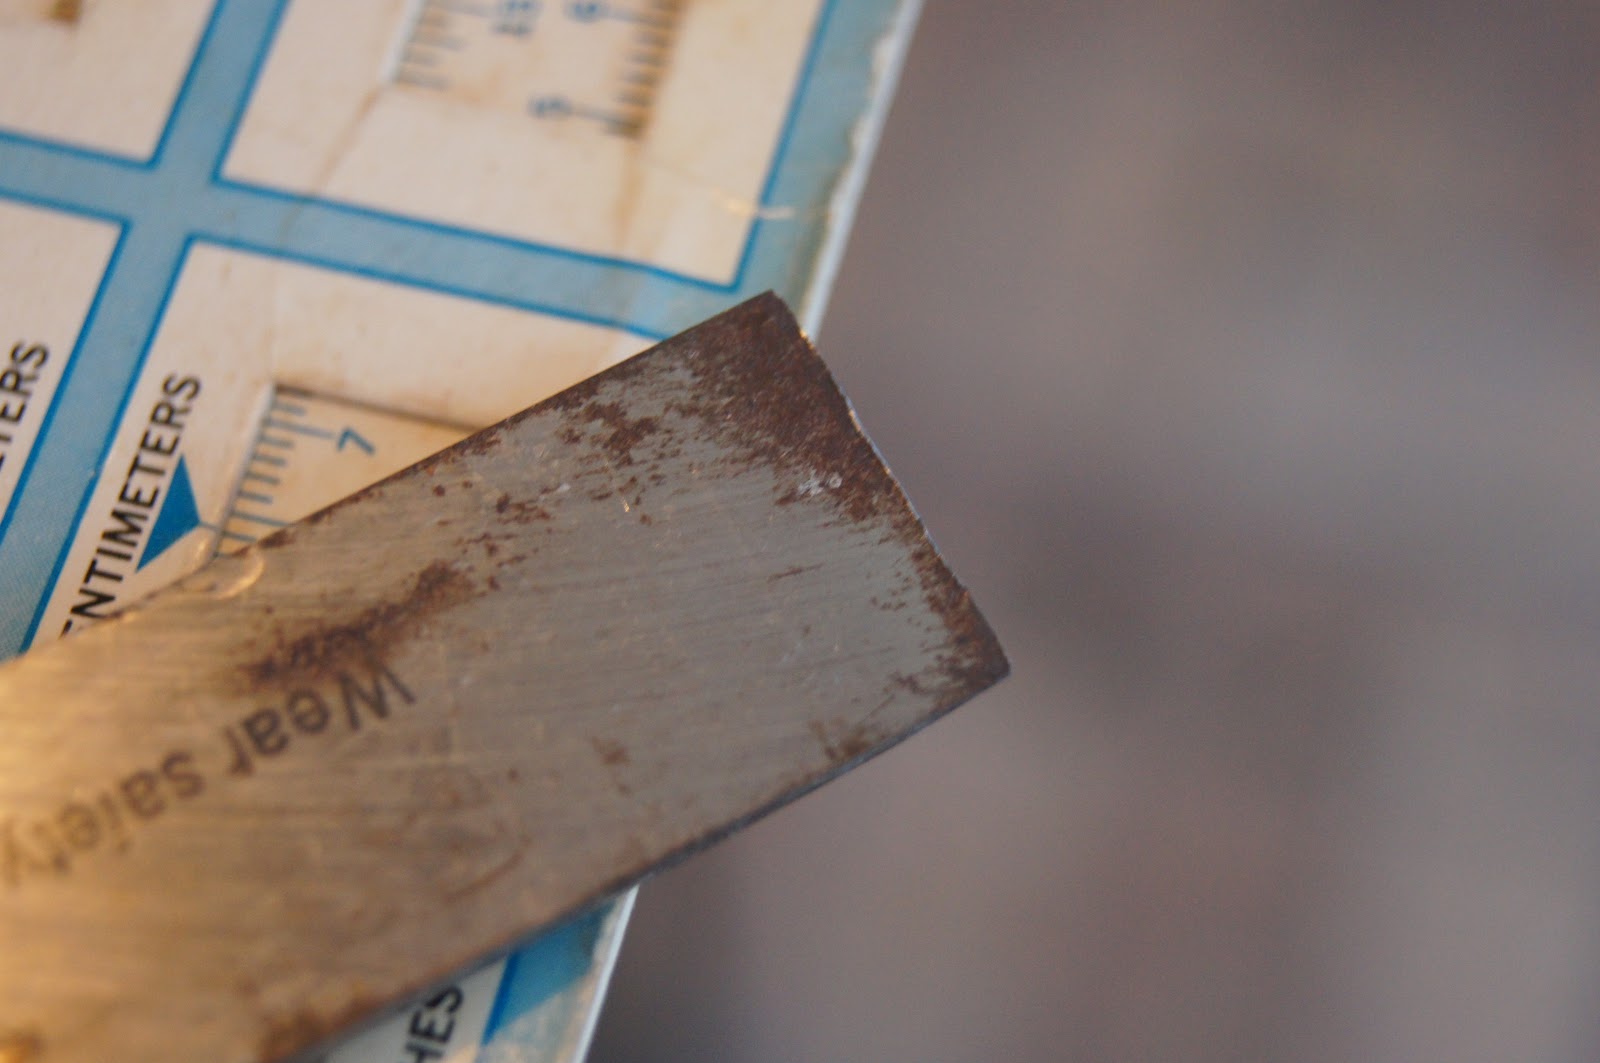
Rusty back of dull chisel. Cutting edge is chipped and rusty.

Bevel edge looks pretty sad.
Edge not square and chipped.
There's a little gap in the photos here, but all I did was square the edge on a grinder and then hone the bevel edge until I felt a wire edge on the back, which is what this picture demonstrates.
After I went through all the different grits, I had a nice mirror polish on the back of the chisel. I only honed the first inch or so which is really all that needs to be.
Voila! It shaved a nice thin shaving off my Sharpie! I'm pleased with that! Thanks for reading!

Tuesday, December 27, 2011

Groz No. 4 Bench Plane

Santa Clause Rocks! Look what he brought me for Christmas!

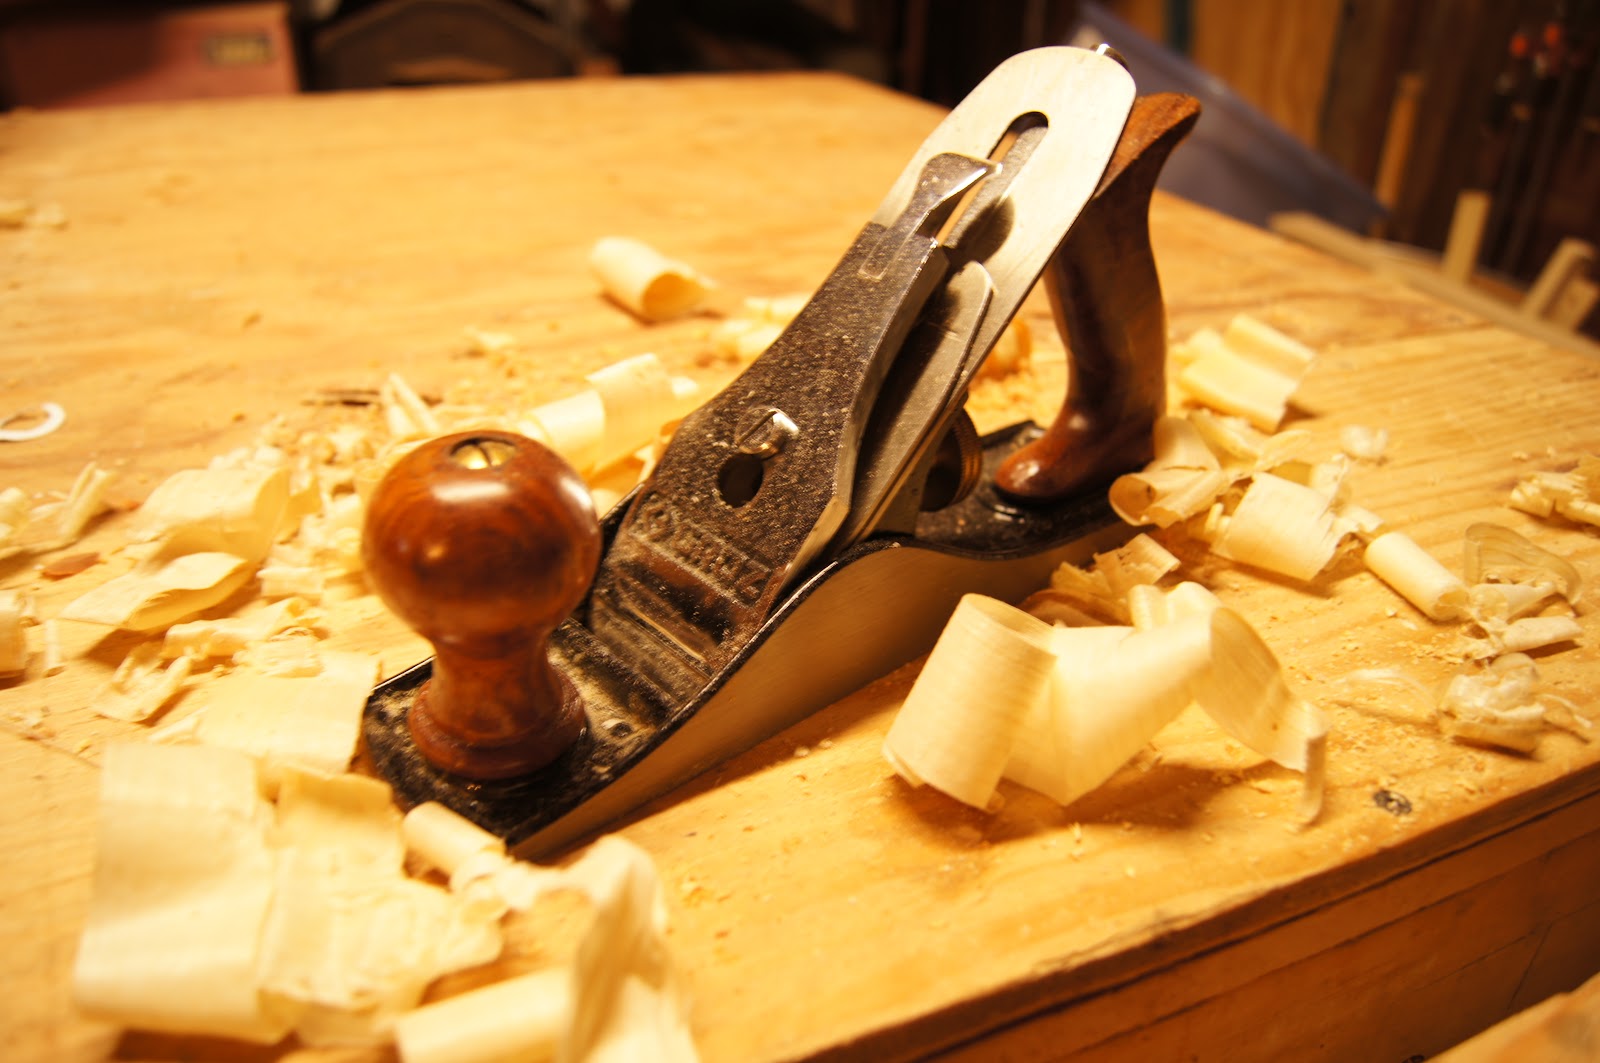
Actually, as you might have guessed, this wasn't a gift from Santa. I was given this by my Mom and Dad. It's a Groz #4 Bench Plane from Woodcraft. I've been needing a hand plane for awhile now so I was very pleased to find this under the Christmas tree Sunday morning.
     It came already honed to the proper bevel and they also offered a $3 sharpening service. When I took it to the shop later that morning, it cut like a breeze! Nothing's better than the feelings of paper thin shavings piling up on your shop floor. I also received a "Scary Sharp" sandpaper sharpening set which I hope to put to use soon to further sharpen this and to finally sharpen all my dull chisels!
    Well this isn't a top of the line plane, it definitely worked quite well and for the price ($16 on sale, $30 regularly) it can't be beat!


My sister-in-law also gave me a bunch of nice router bits! Isn't she the best?!


She also gave me this nice keyhole bit. It's used to make those handy slots on the back of picture frames and plaques so you can hang them on the wall. It ought to be a handy addition to my shop.

I can't wait to put these to good use in my shop! Merry Christmas and a Happy New Year! God Bless!

Tuesday, November 1, 2011

Cheap Sawblade Cleaner

Some of my saw blades have been getting kinda gunky and have some sap and resin buildup. However, I really didn't feel like buying the expensive "blade and tool cleaner" that is recommended. So then I found this cool tip on the internet. It said you could use laundry detergent to clean off the gunk since the detergent is designed to remove organic stains and smears. It made sense and sounded cheap so I thought I would give it a try. How did it turn out? I'll let the pictures speak for themselves.

Before: All filthy with sap and resin buildup

After: While it won't pass as brand new, it does look 90% better!
Before: The teeth were coated with a layer of sap and resin
After: Almost all the gunk is gone, and the dark tinge around the edge is simply the way the blade is!
 Note: Let the blades soak in a bath of water and detergent for about 30 minutes. (I had about a 1/4 inch of water and about 1 1/2 cap fulls of detergent. Then I scrubbed them with a Scotch Brite.

I did this to two of my saw blades and they cleaned up wonderfully! Hooray for laundry detergent!

Saturday, October 29, 2011

Finished Dovetailed Tray

I posted a project on here awhile ago about a Tea Tray with hand cut dovetails. Well, this project, as did the last one, didn't get finished until just the other day. As I noted in this project's original post, It is made from cherry and features my first hand cut dovetails. Here's a couple of pics of the finished project.

 It was finished with some Minwax stain and polyurethane. Some minor blotching did occur, which could have been fixed if I had conditioned the wood beforehand, but, we live and learn!

The bottom is made out of a scrap of luan flooring, but the color turned out great and it finished nice, so who cares!


                                          Have a nice day, and thanks for reading my post!

Bandsawn Box

Here's a project that I finished awhile ago, but never got around to putting a finish on. So a couple days ago I finally got it finished.

It's my first actual bandsawn box (the practice one I showed on here doesn't count) and I think it turned out pretty nice.  It's made out of African Mahogany and finished with Minwax Semi Gloss Polyurethane.
Here's some pics.


                                   So that's it! Hope you enjoyed it, cause I enjoyed making it!

Friday, September 23, 2011

Router Table

My newest addition to my shop is a long awaited and much needed router table. It took me about three days from start to finish and I feel it turned out pretty good. Well, it's accurate and it works considerably well. I'm not much for babbling on so I'll let the pictures speak for themselves.


Here's the table. I replaced my table saw's old extension with a piece of 3/4" birch plywood faced with some 1/8" hardboard. The table has my Craftsman 1 1/2 hp router mounted to a piece of  3/8" plexiglass. Plexiglass wasn't my first choice for the router insert plate, but it does seem pretty sturdy. The fence is mounted to my table saws fence and is boxlike in shape and has a channel to connect a vacuum for dust collection. The front fences are adjustable for different size bits. I made a slot in the table for my miter gauge and installed and adjustable feather board.

Here's a pic of the fence. Part of the top pops off so you can access the dust chute to clear any chips and to adjust the wing nuts which hold the adjustable fences.

The other end also has a empty cavity so you can adjust the wing nuts. The design suggested I make a lid and store my router bits there. I store mine differently so I used this as a place for my table saw pushstick, this way it's always handy.


The router plate has removable inserts for the center depending on the size of bit I'm using. The blue tape you see was so the insert would be flush with the plate. It was just a tad low. This arrangement is temporary, since I plan to buy a store bought router plate with inserts in the future. But, we'll see.

So in the end, I have a really nice setup which greatly increases the usefulness of my router. Hopefully this will last awhile. Thanks for looking!