For Christmas, I received a DVD on saw sharpening, something I've wanted to learn to do for a long time. Well, I watched the dvd and made a list of what I'd need. Dull handsaw. Check. Triangle file of proper size and length. Check. Saw vise. What? A saw vise!? I had forgotten a very important element of saw sharpening; a saw vise. I didn't have the money to buy one, so it was out to the shop to dig through my pile of scraps and see what I could create. Now ideally a vintage metal saw vice is the best route, but I didn't have the cash and, hey, I'm a woodworker, it had to be made from wood. First I browsed around for pictures of other peoples homemade saw vices, just to get some ideas. Next I got to work on my Sketch-Up program and designed the vice which ended up looking different from all the other designs I'd seen. Oh well, it's designed to suit my needs. Well, again I will skip the jabber and hop to the fun stuff. Pictures!

First I started by making the bevel on the edge of the jaws. The jaws and handles are made from African Mahogany. I've used this on several projects in the past and you're probably wondering why I use this expensive wood on something like this? Well, I didn't have anything else and I didn't pay very much at all for this wood when I bought it. So that's why. :)
Then I cut out the coves on the bandsaw. These allow the jaws to fit into the area near the handle where it's tight.
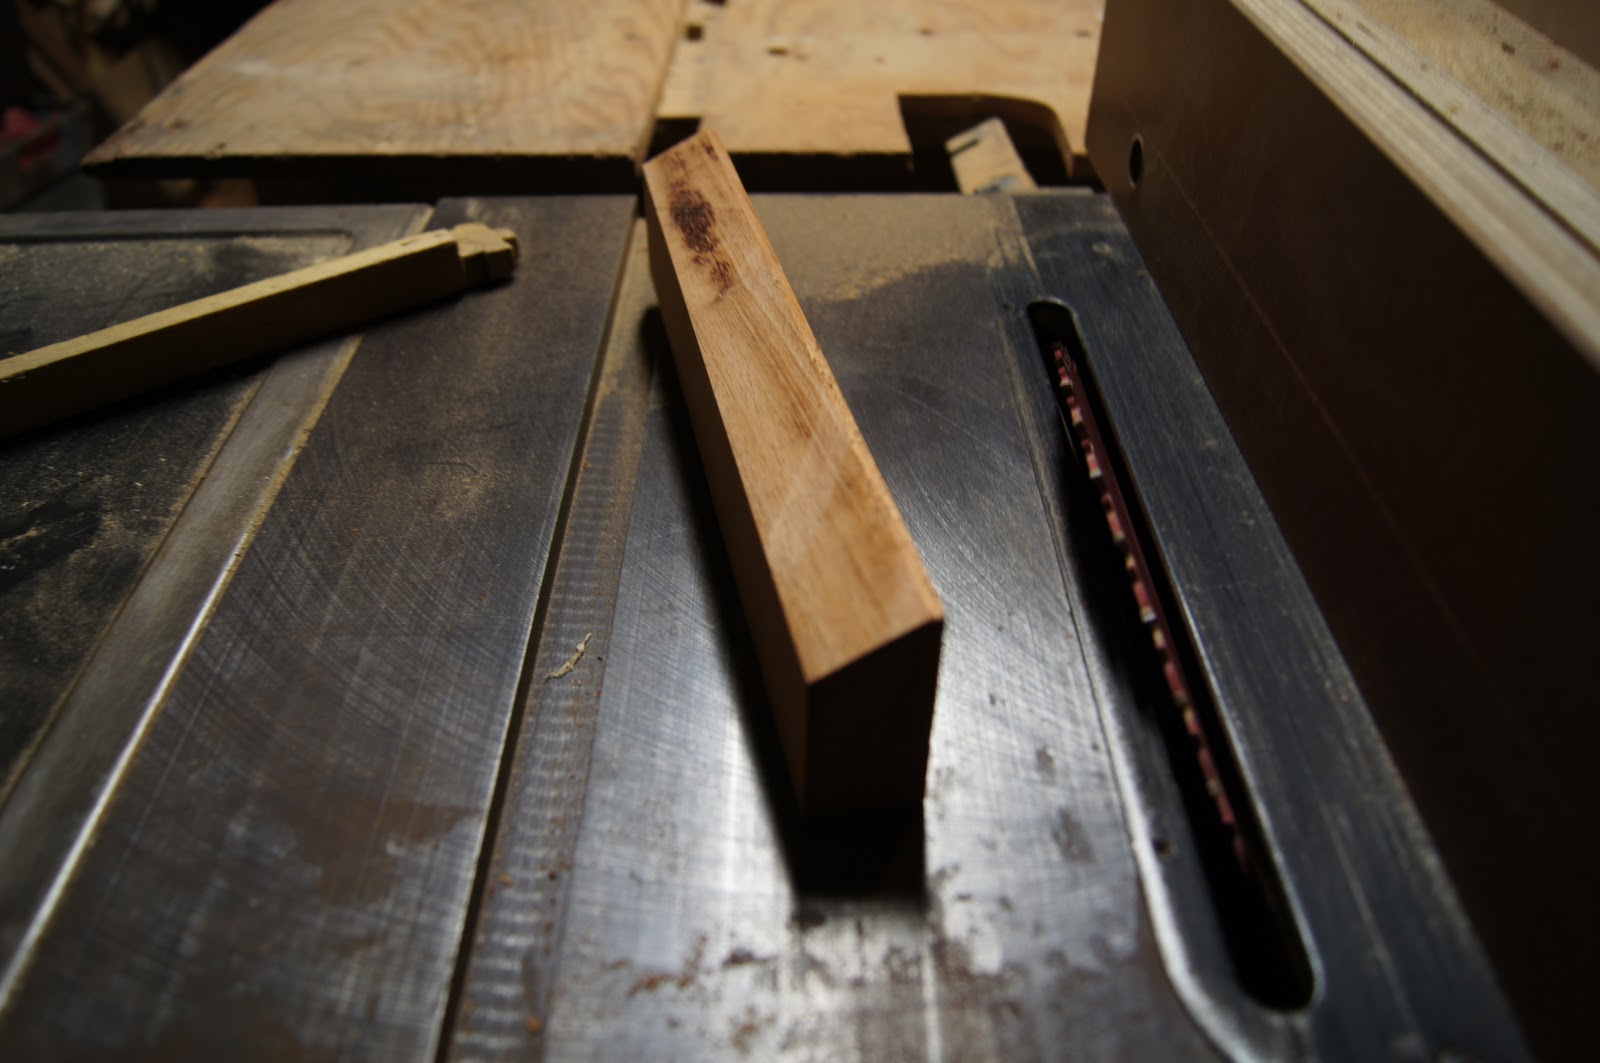
Here are the side, legs, jaw pieces, whatever there called. But here they are. I made them out of 3/4 inch baltic birch plywood. I narrowed the ends for I suppose no other reason then because it looked good.
I wanted this one to be adjustable for different heights of benches or people. So I routed grooves to allow for the bracket which I show later.
I used my 45 degree bit to countersink the grooves for the bolts which will hold the bracket.
Here's the cam/locking mechanism lever for tightening the vise. I could have used a knob to tighten, but I like the idea of a quick locking lever. I'll show you how this is made.
My first lever was made from one piece of wood and that proved to be a bad idea because of the pressure exerted on the lever was too much and it cracked. So...I decided to make a new laminated one and that did the trick. The alternating grain directions really strengthened it.
For the pivot of the lever I needed a custom designed piece. This is where my dad comes in. He's good with all the metal stuff so he was the brains behind this. First we drilled a hole in a piece of rod.
Then we tapped and threaded the hole.
For the lever I drill a whole my good old hand-powered brace and a 1/2 inch auger bit. The whole is slightly offset so it can have that tightening action.
Then I routed the clearance slot so that the lever can actually pivot.
Allright, back to the rest of the vise. Here I am drilling the holes in the jaws to attach them to the jaw leg things.
Here's the bracket for to make it adjustable. You can use this bracket to clamp the vise to the bench.
Here's the back of the bracket. The small notches cut into the sides allow for free movement of the wing nuts that allow me to tighten or loosen the bracket.
Here's the assembled vise.
It holds the saw very well, which, to be honest, is better than I expected. Even when the saw is only held by the end, it still holds quite firmly. The basic job of the vice is the hold the saw still and keep the saw from vibrating, which this vise does very well. So all in all I am pleased.
So I set to work sharpening my saw. I practiced with a rip saw which because the sharpening file is held at 90 degrees it makes the process easier. Here's a pic of the tools I used. From left: File held at 90 degrees in a piece of wood, a 6 inch extra slim triangle file, and a saw set I inherited from my grandfather. I finished sharpening the saw and it worked beautifully! I love sharp tools! Thanks for reading!


*slaps face with palm*
ReplyDeleteWow! simply wow!
Now I am not the sharpest tool in the shed(yes lame pun intended), but that was really cool. When you were listing all the steps you were taking, I was doing a mental checklist of all the stuff that I would have been able to do...... I would have been able to get as far as watching the dvd on saw sharpening then I would have been lost.
I think it is interesting, that you will be able to maintain the tools that you make with a tool that you made.
Haha Thanks!
ReplyDeletethats incredible Philip....I love the little lever thing...and not just because its cute. You are such a genius <3
ReplyDeleteThis is Thim: All I can say, Is you have talent..KEEP IT UP THE GOOD WORK!
ReplyDeleteyou should give us all a turn about your shop...I herd it is pretty cool. (you know, we could count it for a "field trip"! haha
Wow! This is all so cool Philip! You do a really nice job at your woodworking:)
ReplyDeleteI'm Абрам Александр a businessman who was able to revive his dying lumbering business through the help of a God sent lender known as Benjamin Lee the Loan Consultant of Le_Meridian Funding Service. Am resident at Yekaterinburg Екатеринбург. Well are you trying to start a business, settle your debt, expand your existing one, need money to purchase supplies. Have you been having problem trying to secure a Good Credit Facility, I want you to know that Le_Meridian Funding Service. Is the right place for you to resolve all your financial problem because am a living testimony and i can't just keep this to myself when others are looking for a way to be financially lifted.. I want you all to contact this God sent lender using the details as stated in other to be a partaker of this great opportunity Email: lfdsloans@lemeridianfds.com OR WhatsApp/Text +1-989-394-3740.
ReplyDelete